The Cut Within the Cut
Apprenticeship Day 13
Jarrod and Jazmin got back from their ASI Christmas Fair late Sunday night, so it was a pretty chill start to the day. As usual for a Monday we started with the weekly business meeting. This week will be almost entirely turning. At least that's the plan. We've got bowls, plates, tumblers and mugs to make.
So I started the morning by axing out a couple of bowl blanks. I got to spinning one on the lathe. After turning below all the axe marks I asked Jarrod if he wanted me to do any basic shaping. This is destined to be an ale bowl, so he explained how he wanted the rim shaping and had me work on that. As my skills increase, and Jarrod becomes more confident in my ability to make things to his specifications, I'll gradually be handing over bowls that will be closer and closer to their finished form.

Roughed out rim on the ale bowl
As part of the morning meeting, we discussed if we should focus on just a couple of bowl designs and get me dialled in on them, or whether it's better to create a variety of shapes. I think Jarrod's leaning towards focusing on just two shapes, but that might change as we work through the blanks we've got. Sticking to just a couple of shapes will give me less to think about. And I'm always happy to not think about stuff.
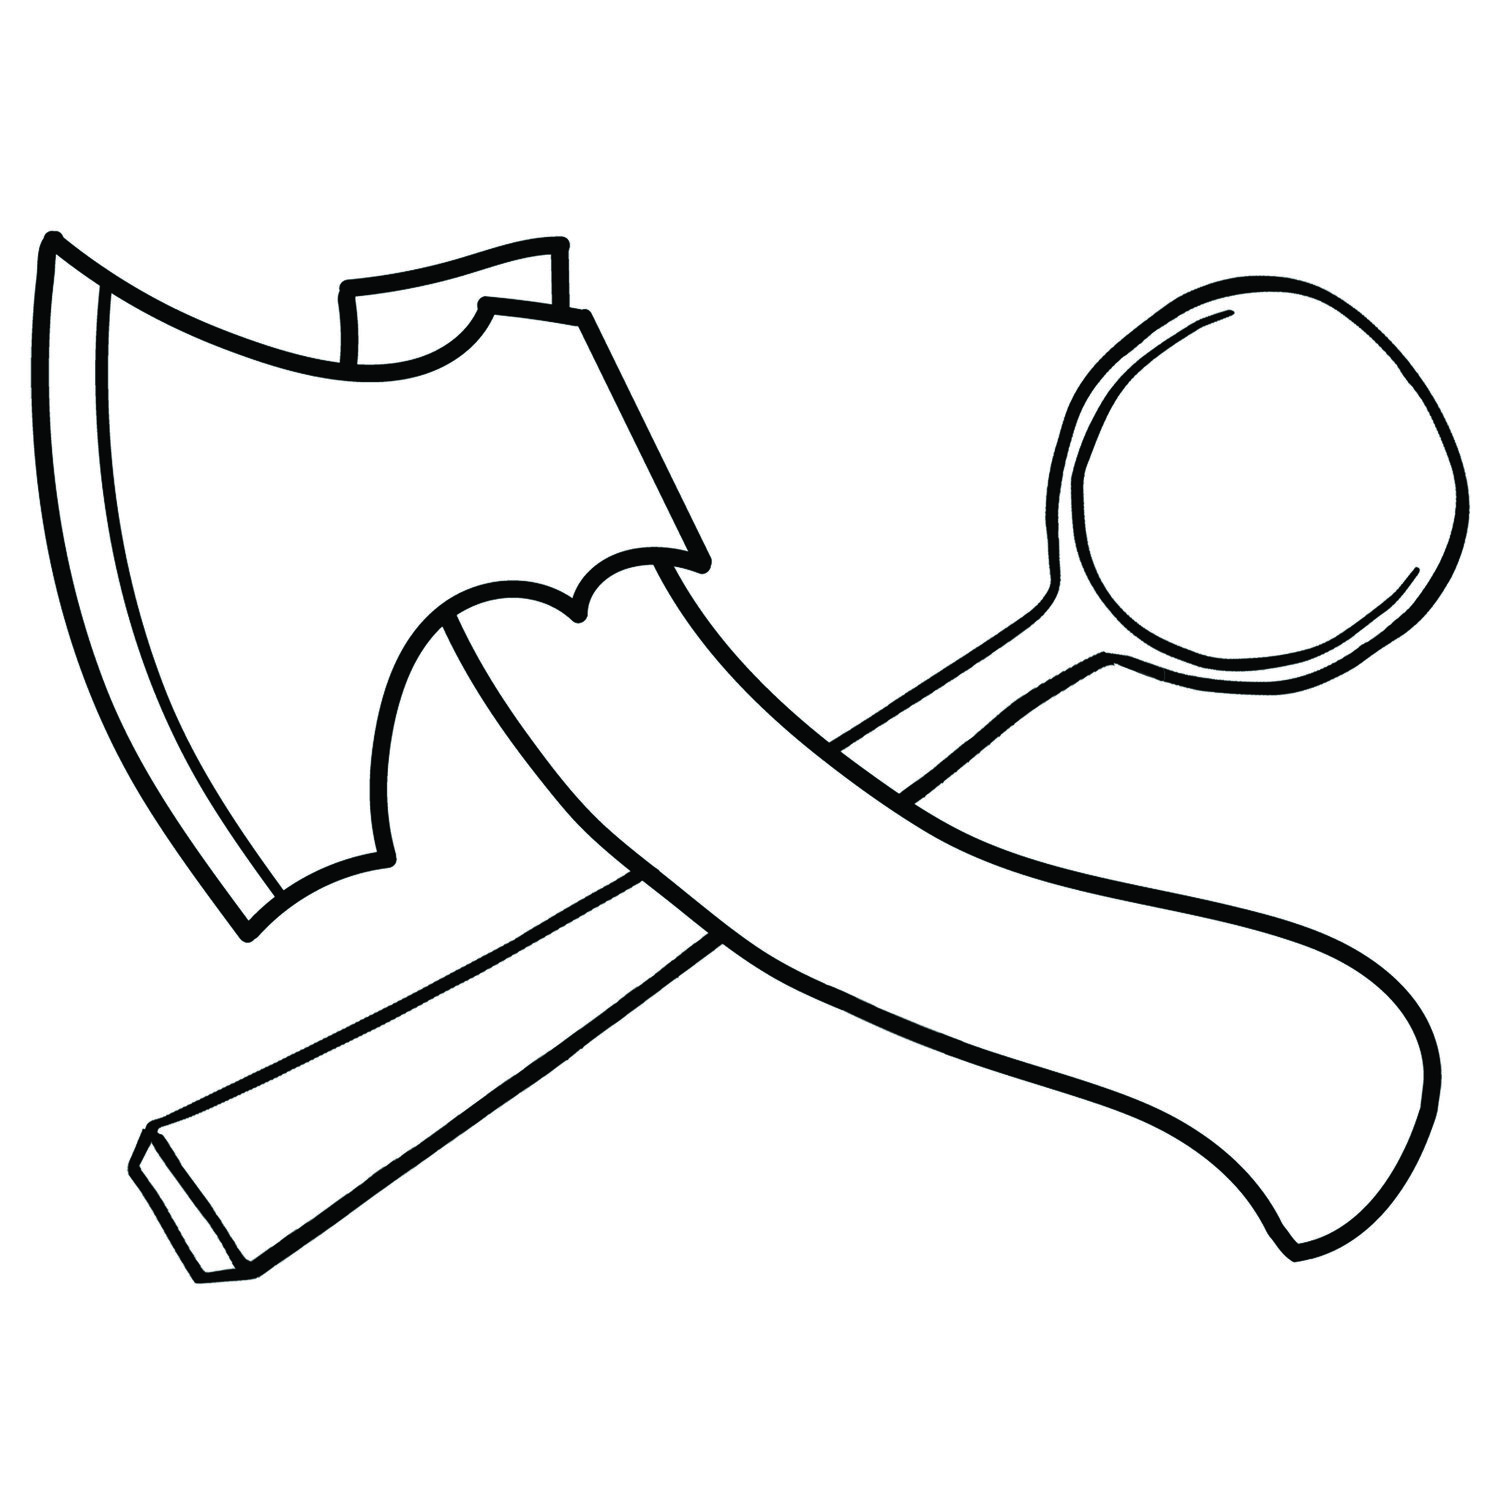
Once I'd shaped the bowl rim, Jarrod demonstrated some hollowing for me. This is where he got all 'wax on, wax off' with his "the cut within the cut" comment. What follows might not make any sense, as I'm going to try and describe a process I myself haven't mastered. But I want to have it written down to refer back to.

The above sketch it a cut-away view of the bowl profile. Cut A creates the core. Cut B creates the inner surface of the bowl. Cut A cuts along surface 1, eventually scraping against Surface 2. Cut B clears away material, widening the trough that sits at the bottom, where Surface 1 and 2 meet. Take Cut B too close to Surface 1 and it will catch and probably dig in. So Cut A does the actual deepening and Cut B clears the path for it.

The fuzziness is where Cut B starts to scrape against Surface 1.
Did I mention Jarrod's writing a proper book on how to turn a bowl? For all our sakes, I hope it's clearer that my above ramblings.
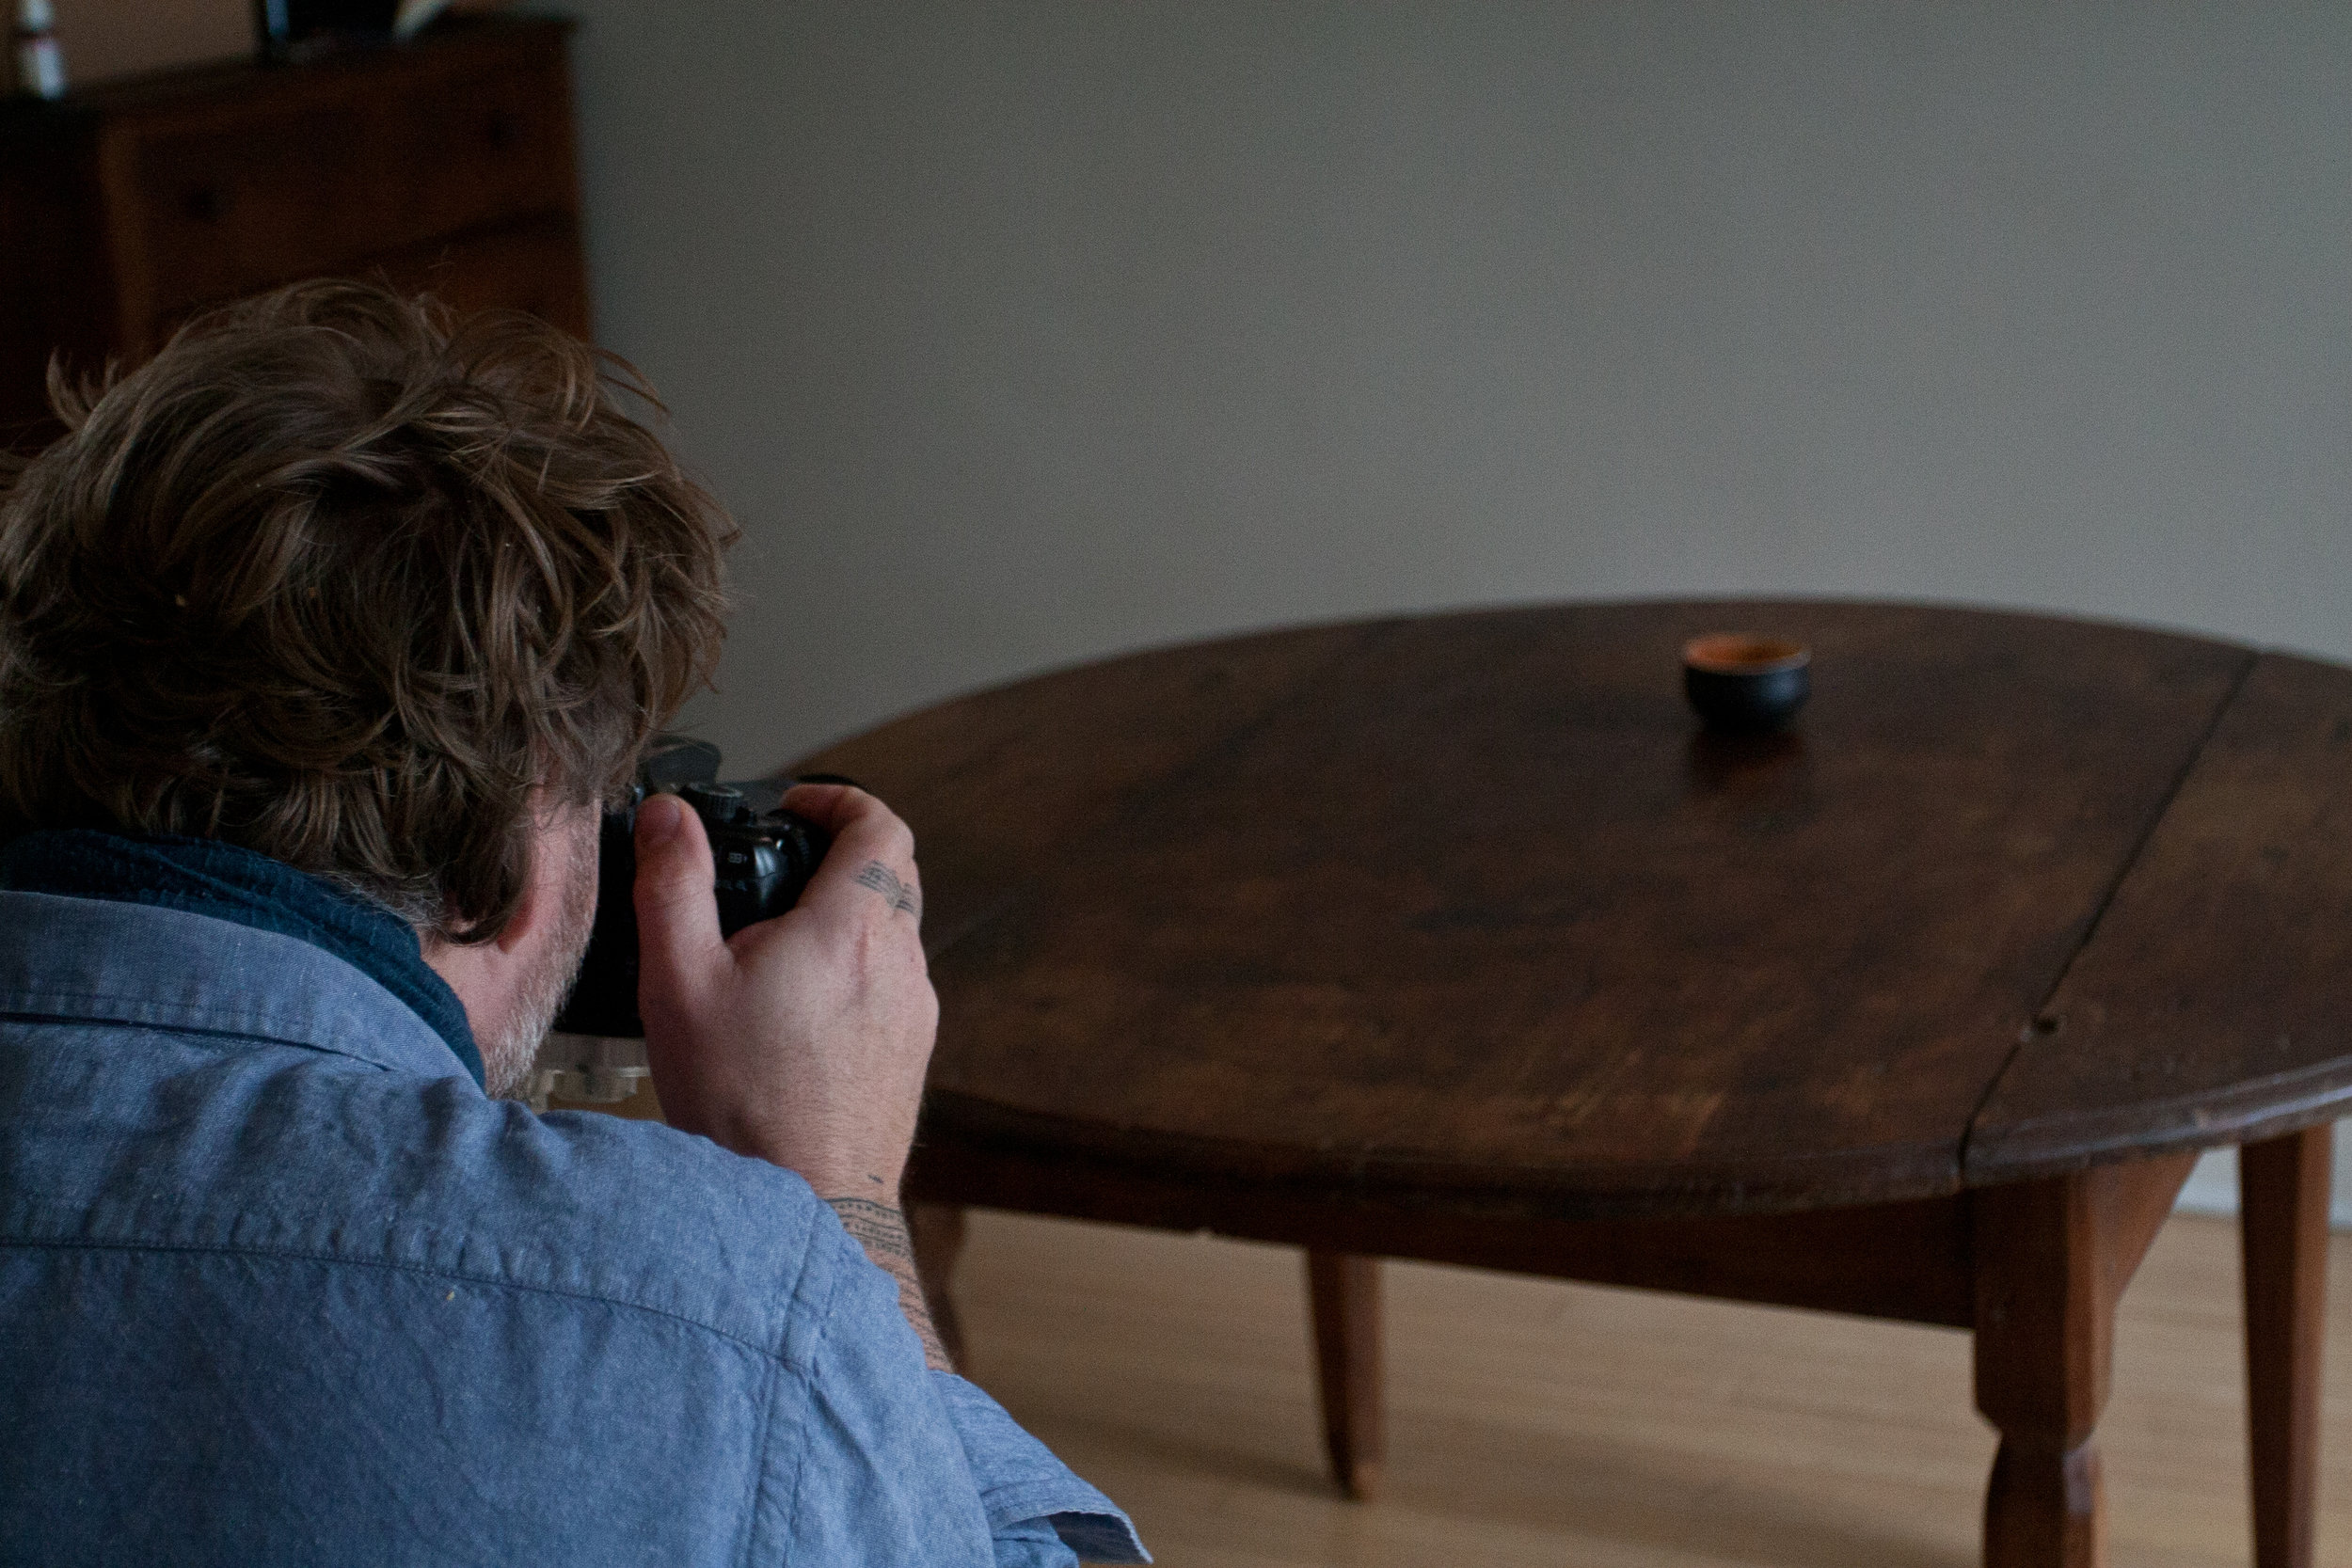
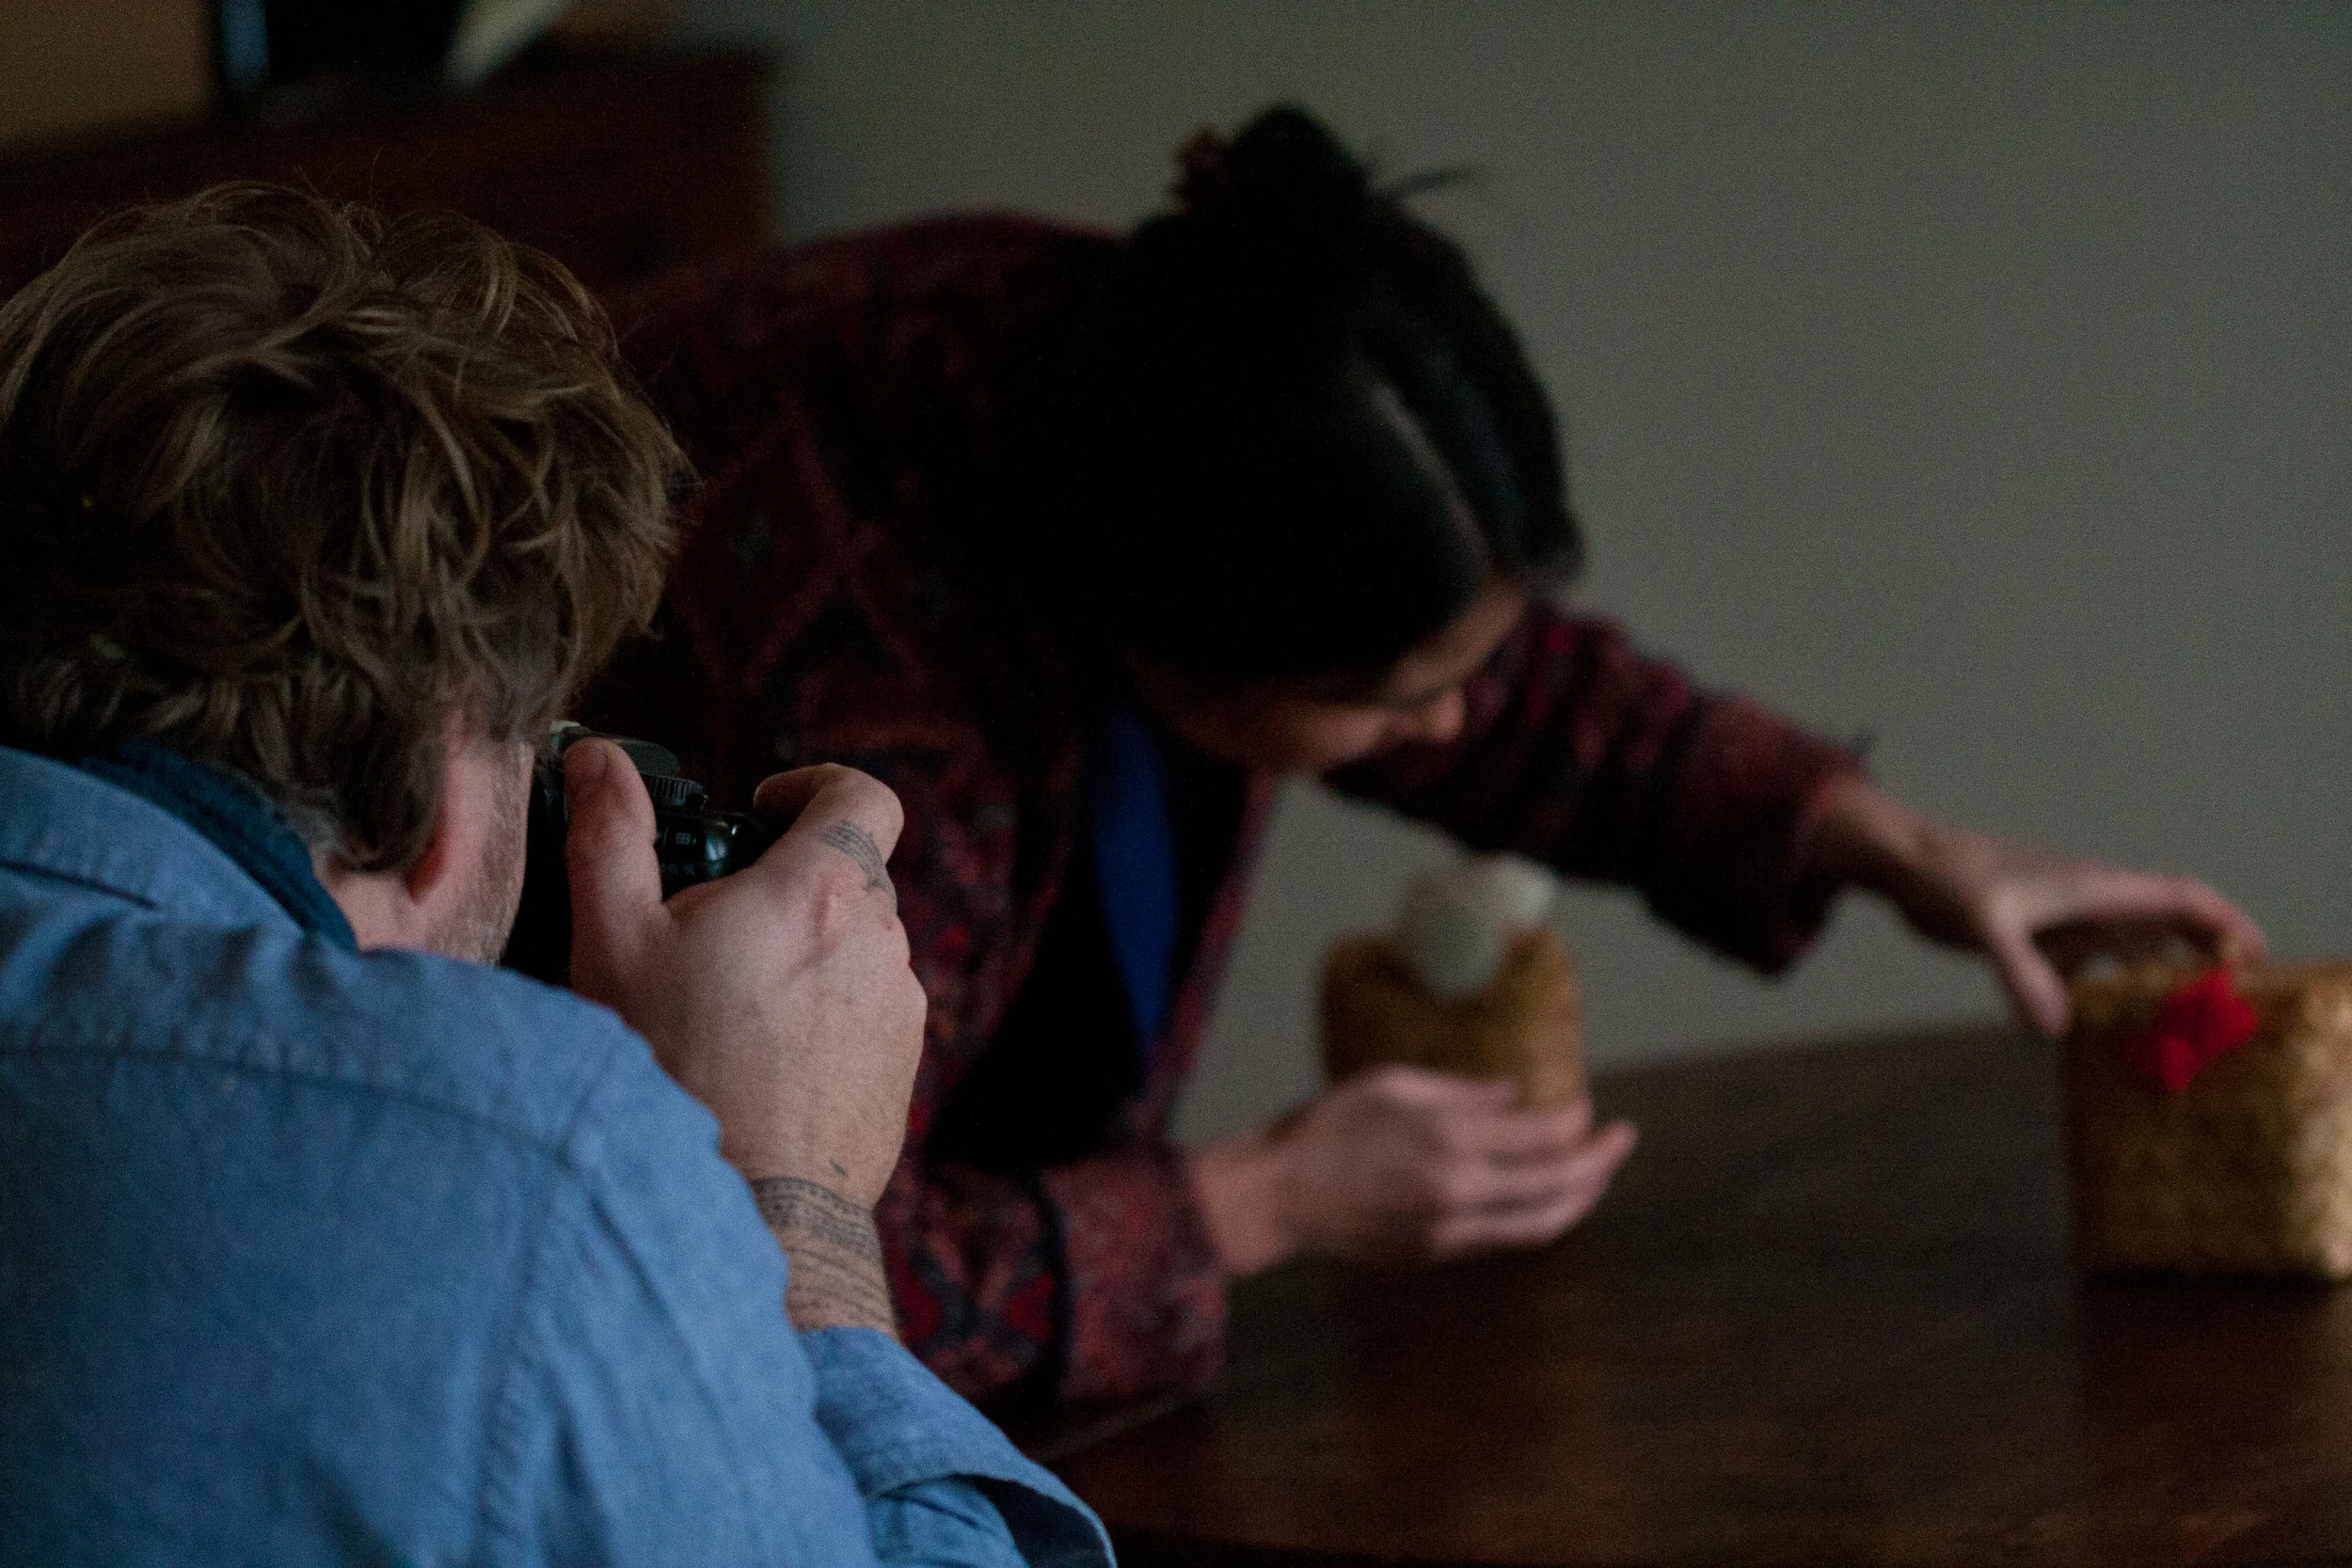
After lunch Jarrod and Jazmin were taking photos of stock for tomorrow's websale. It was fun to see their process, and I got some nice behind-the-scenes pictures of the dynamic duo in action.
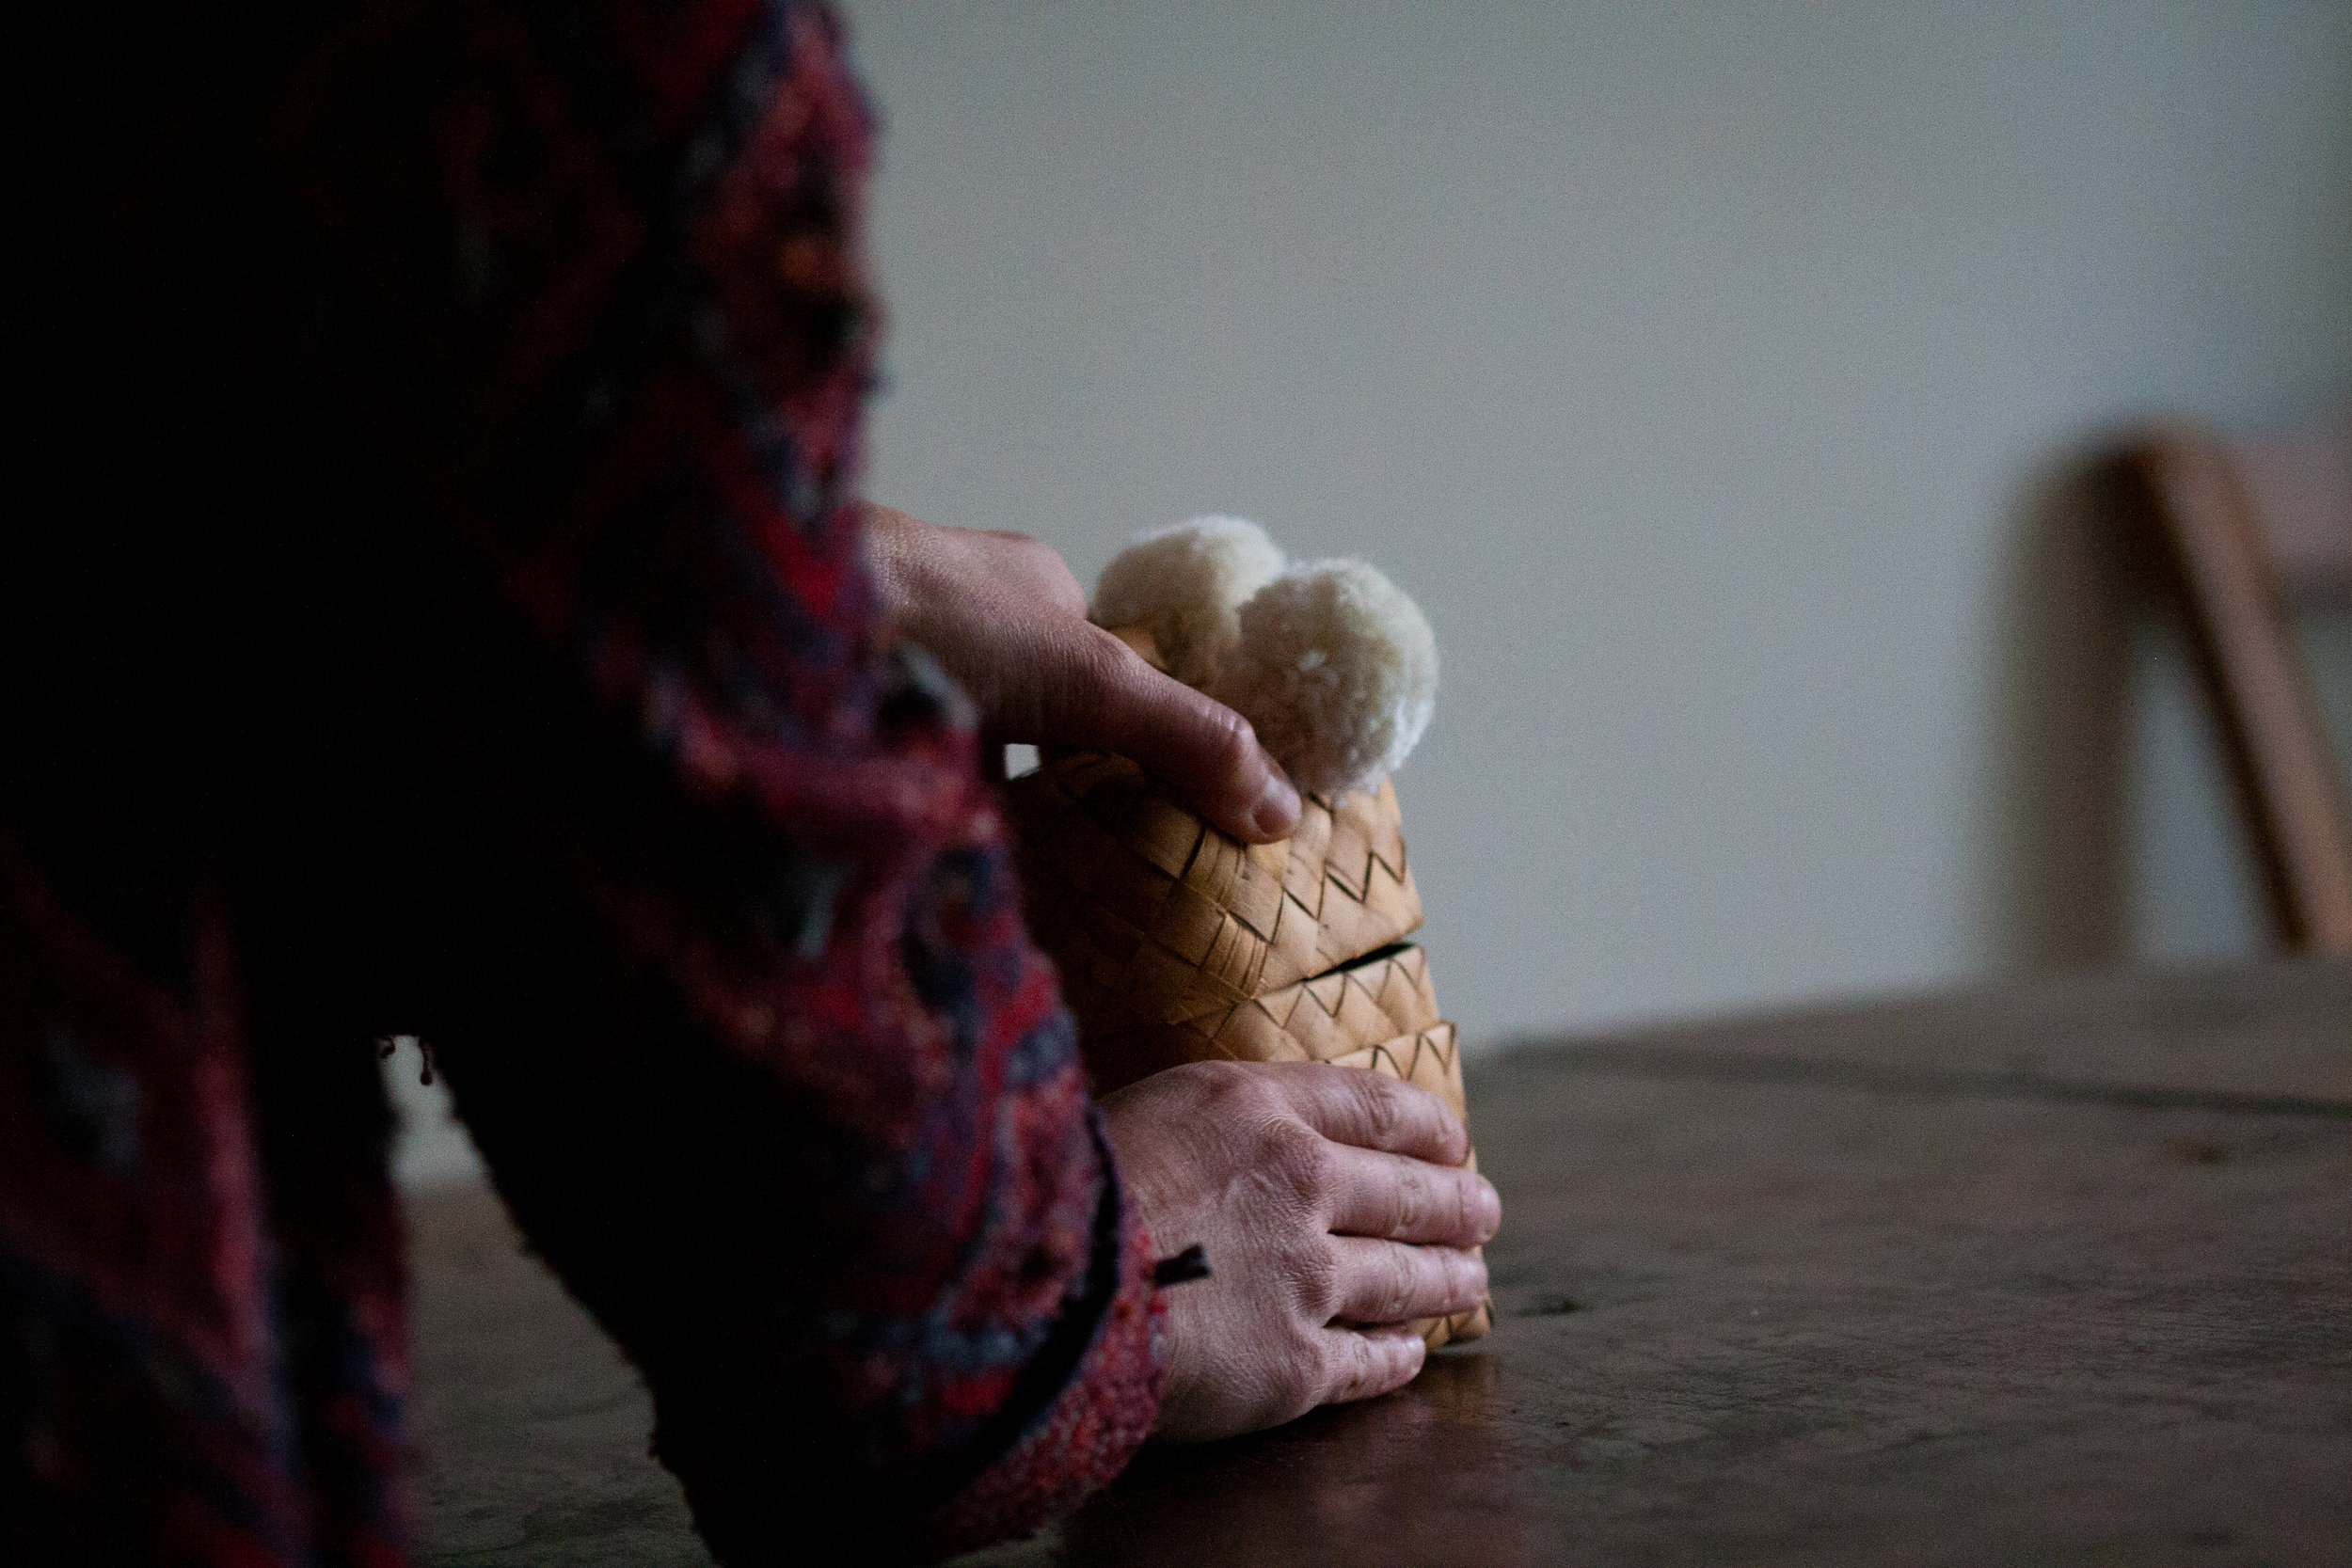
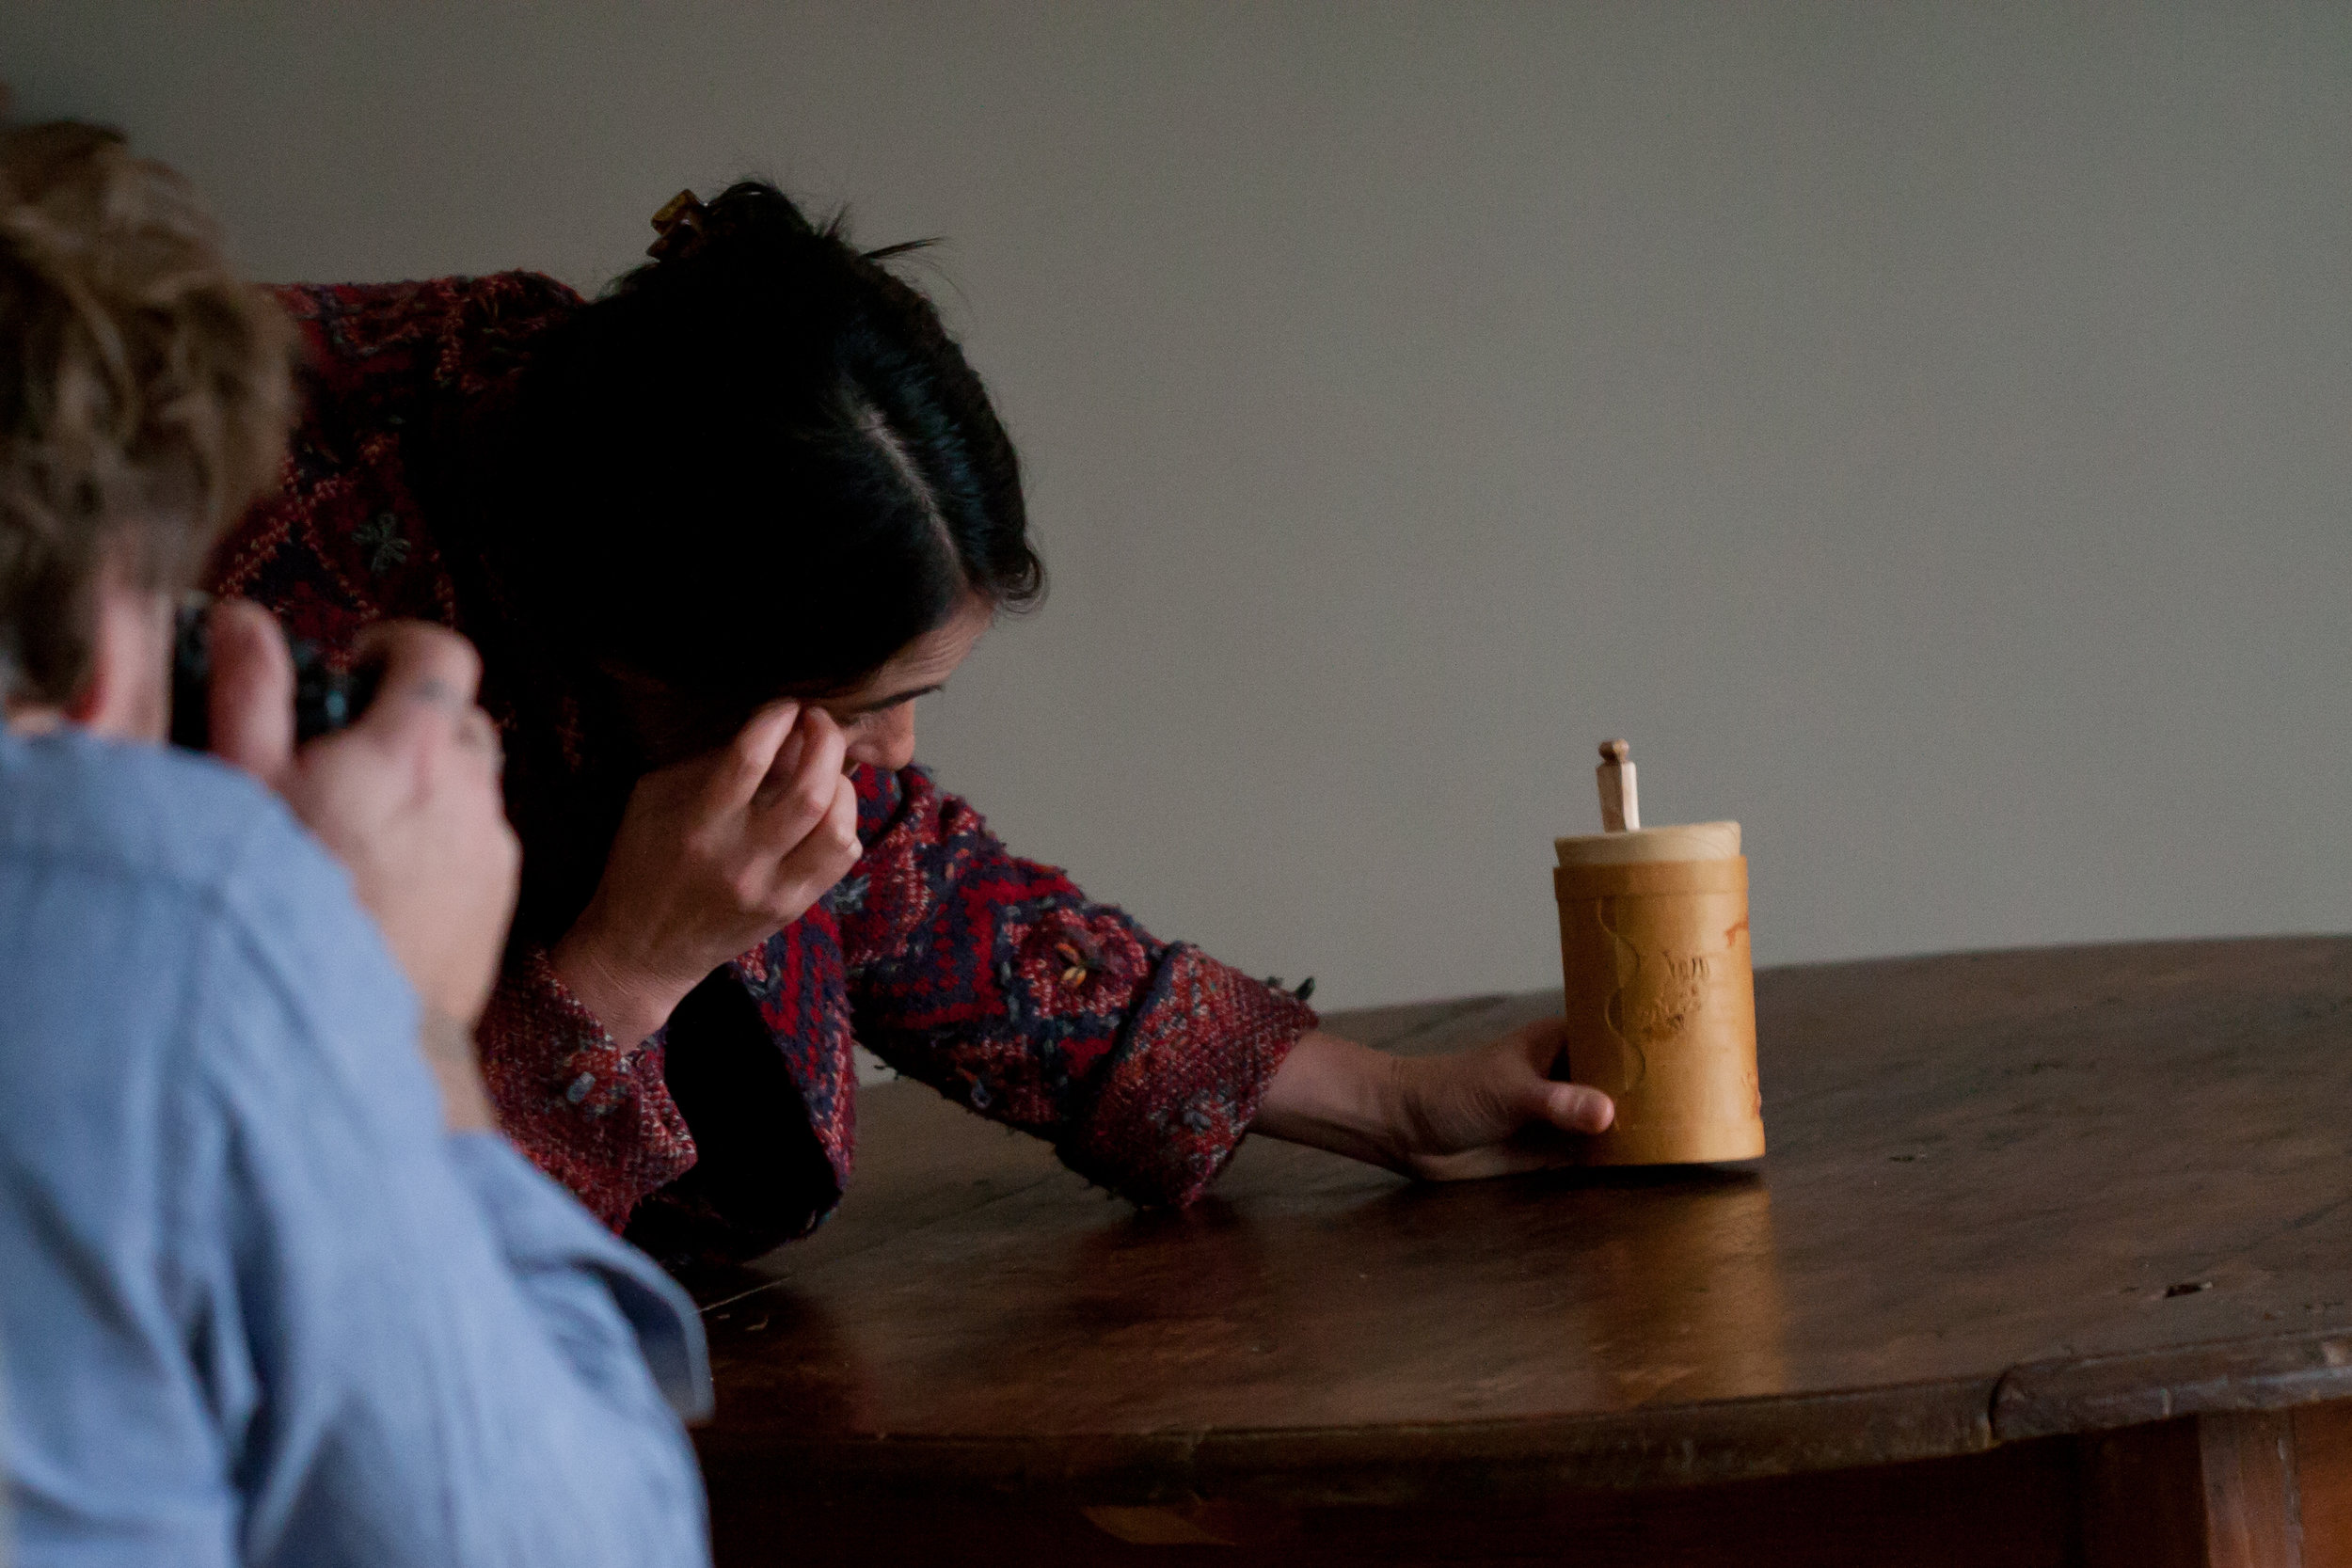
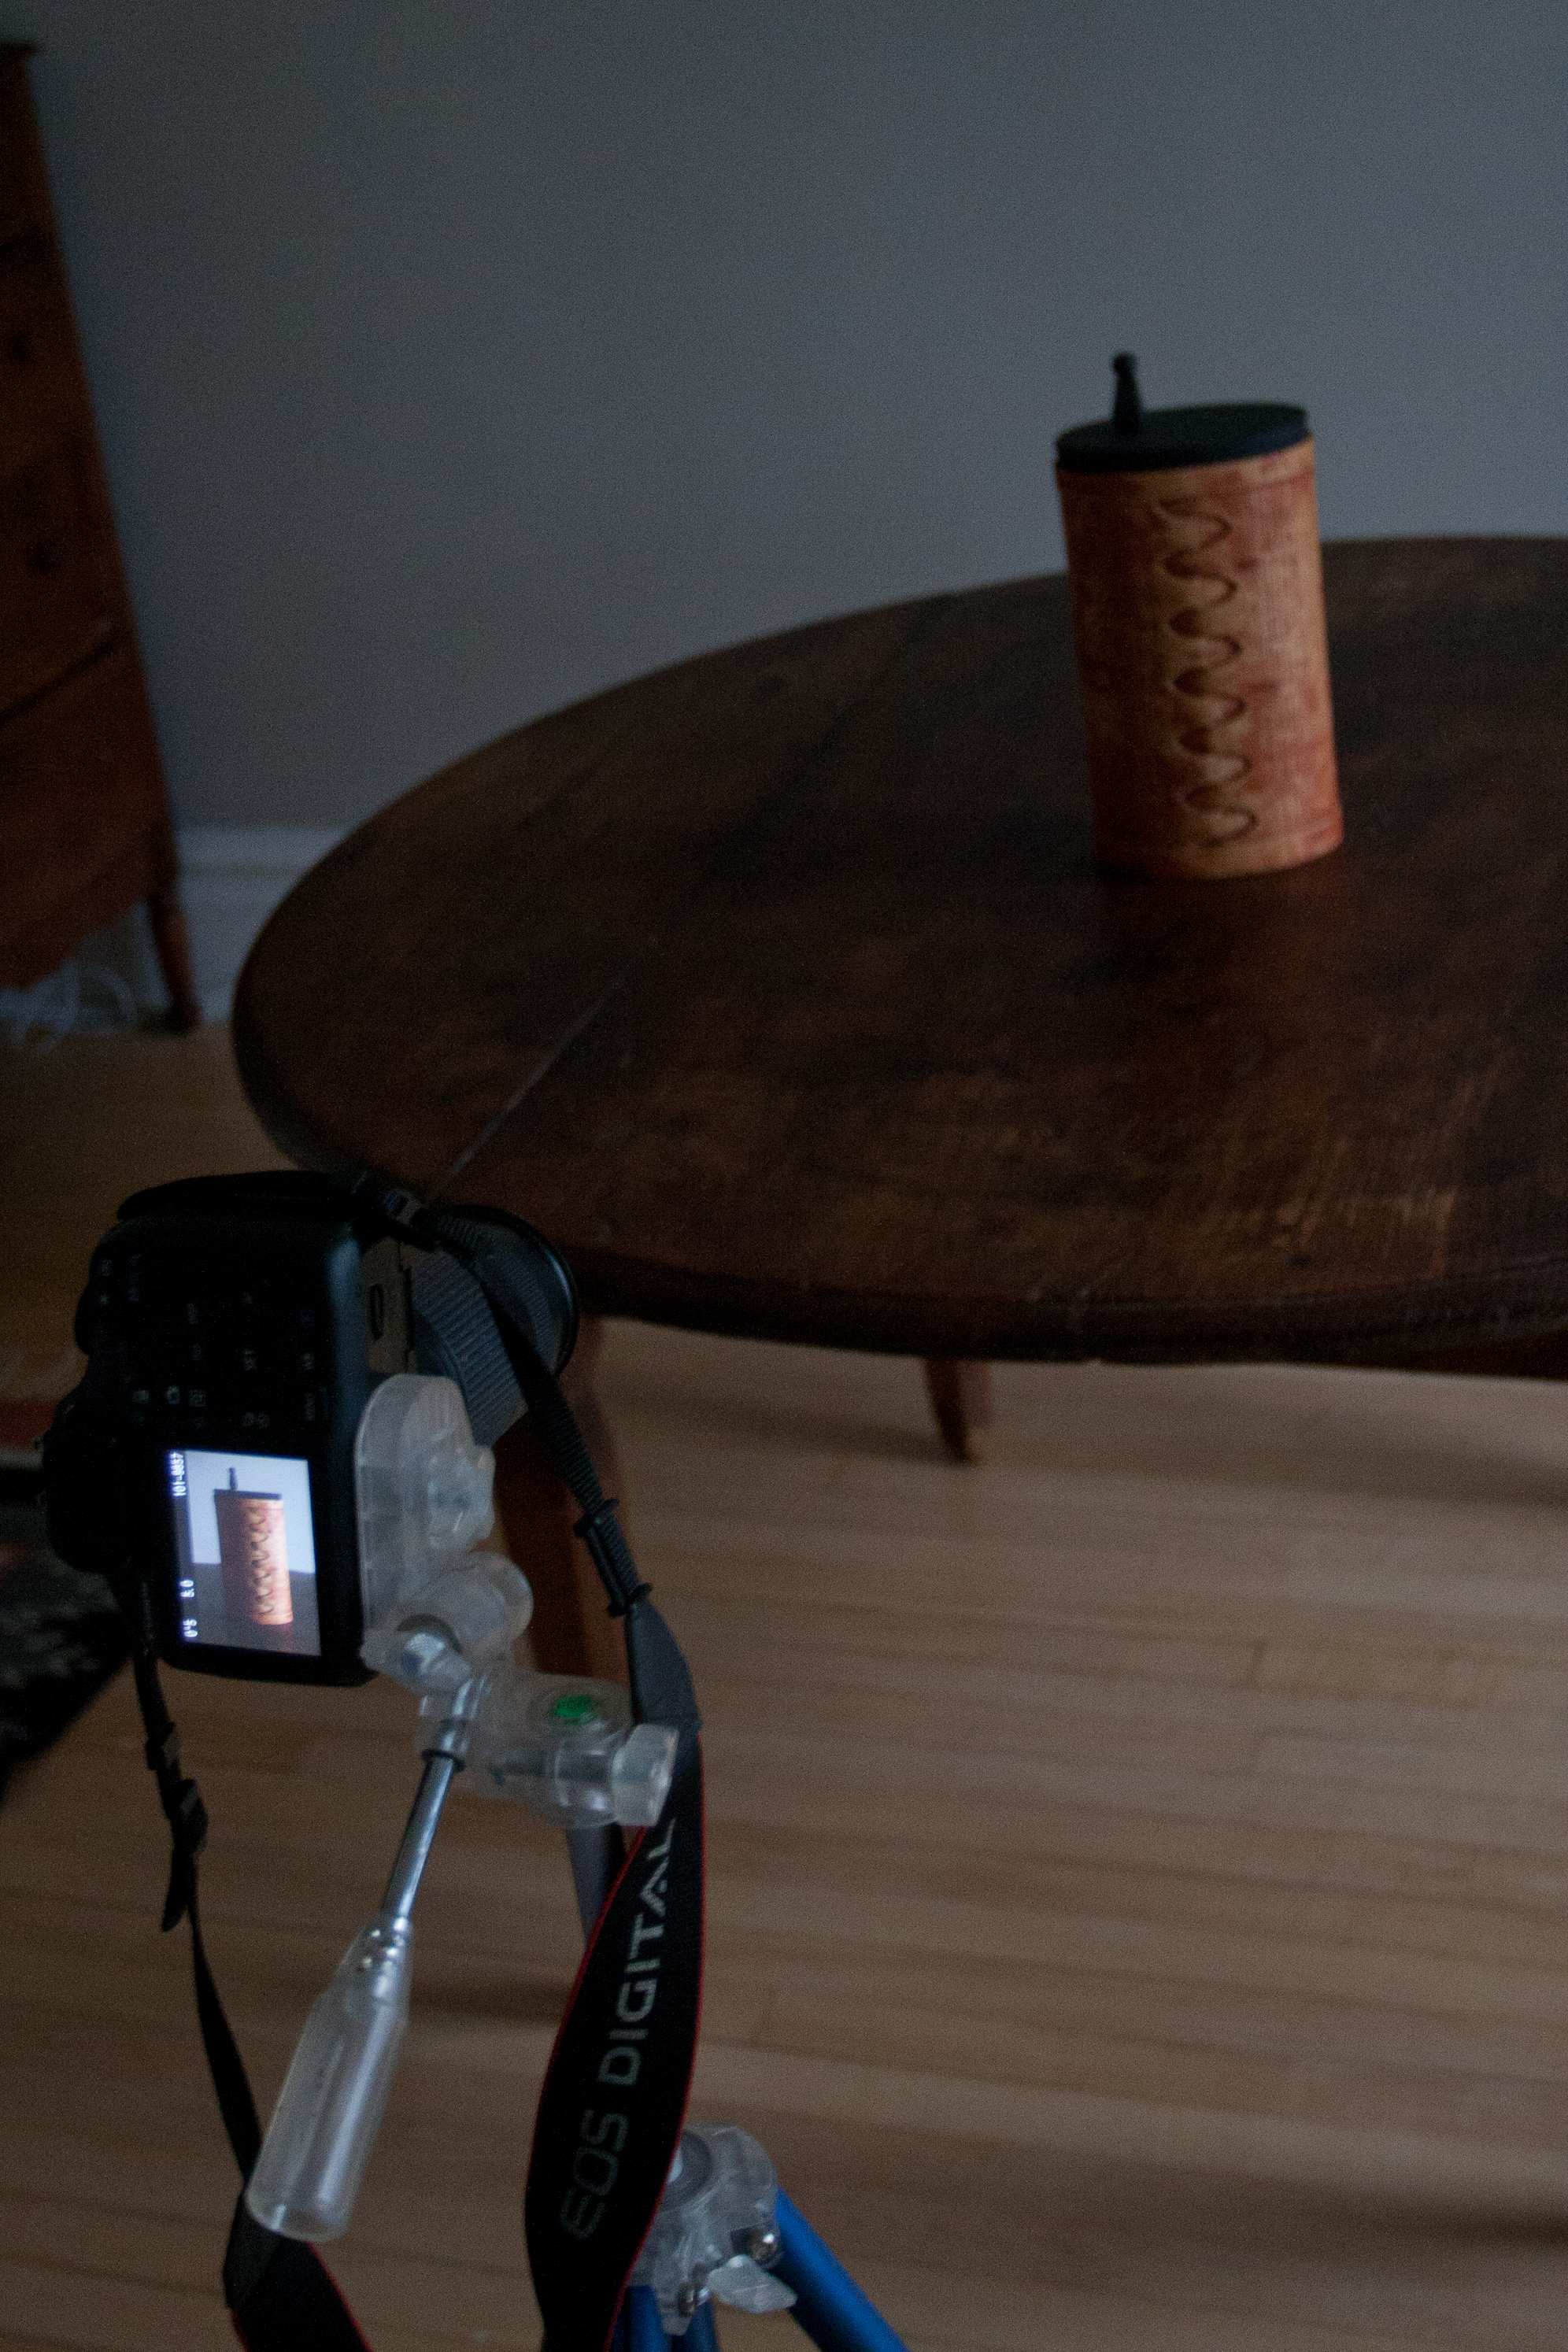
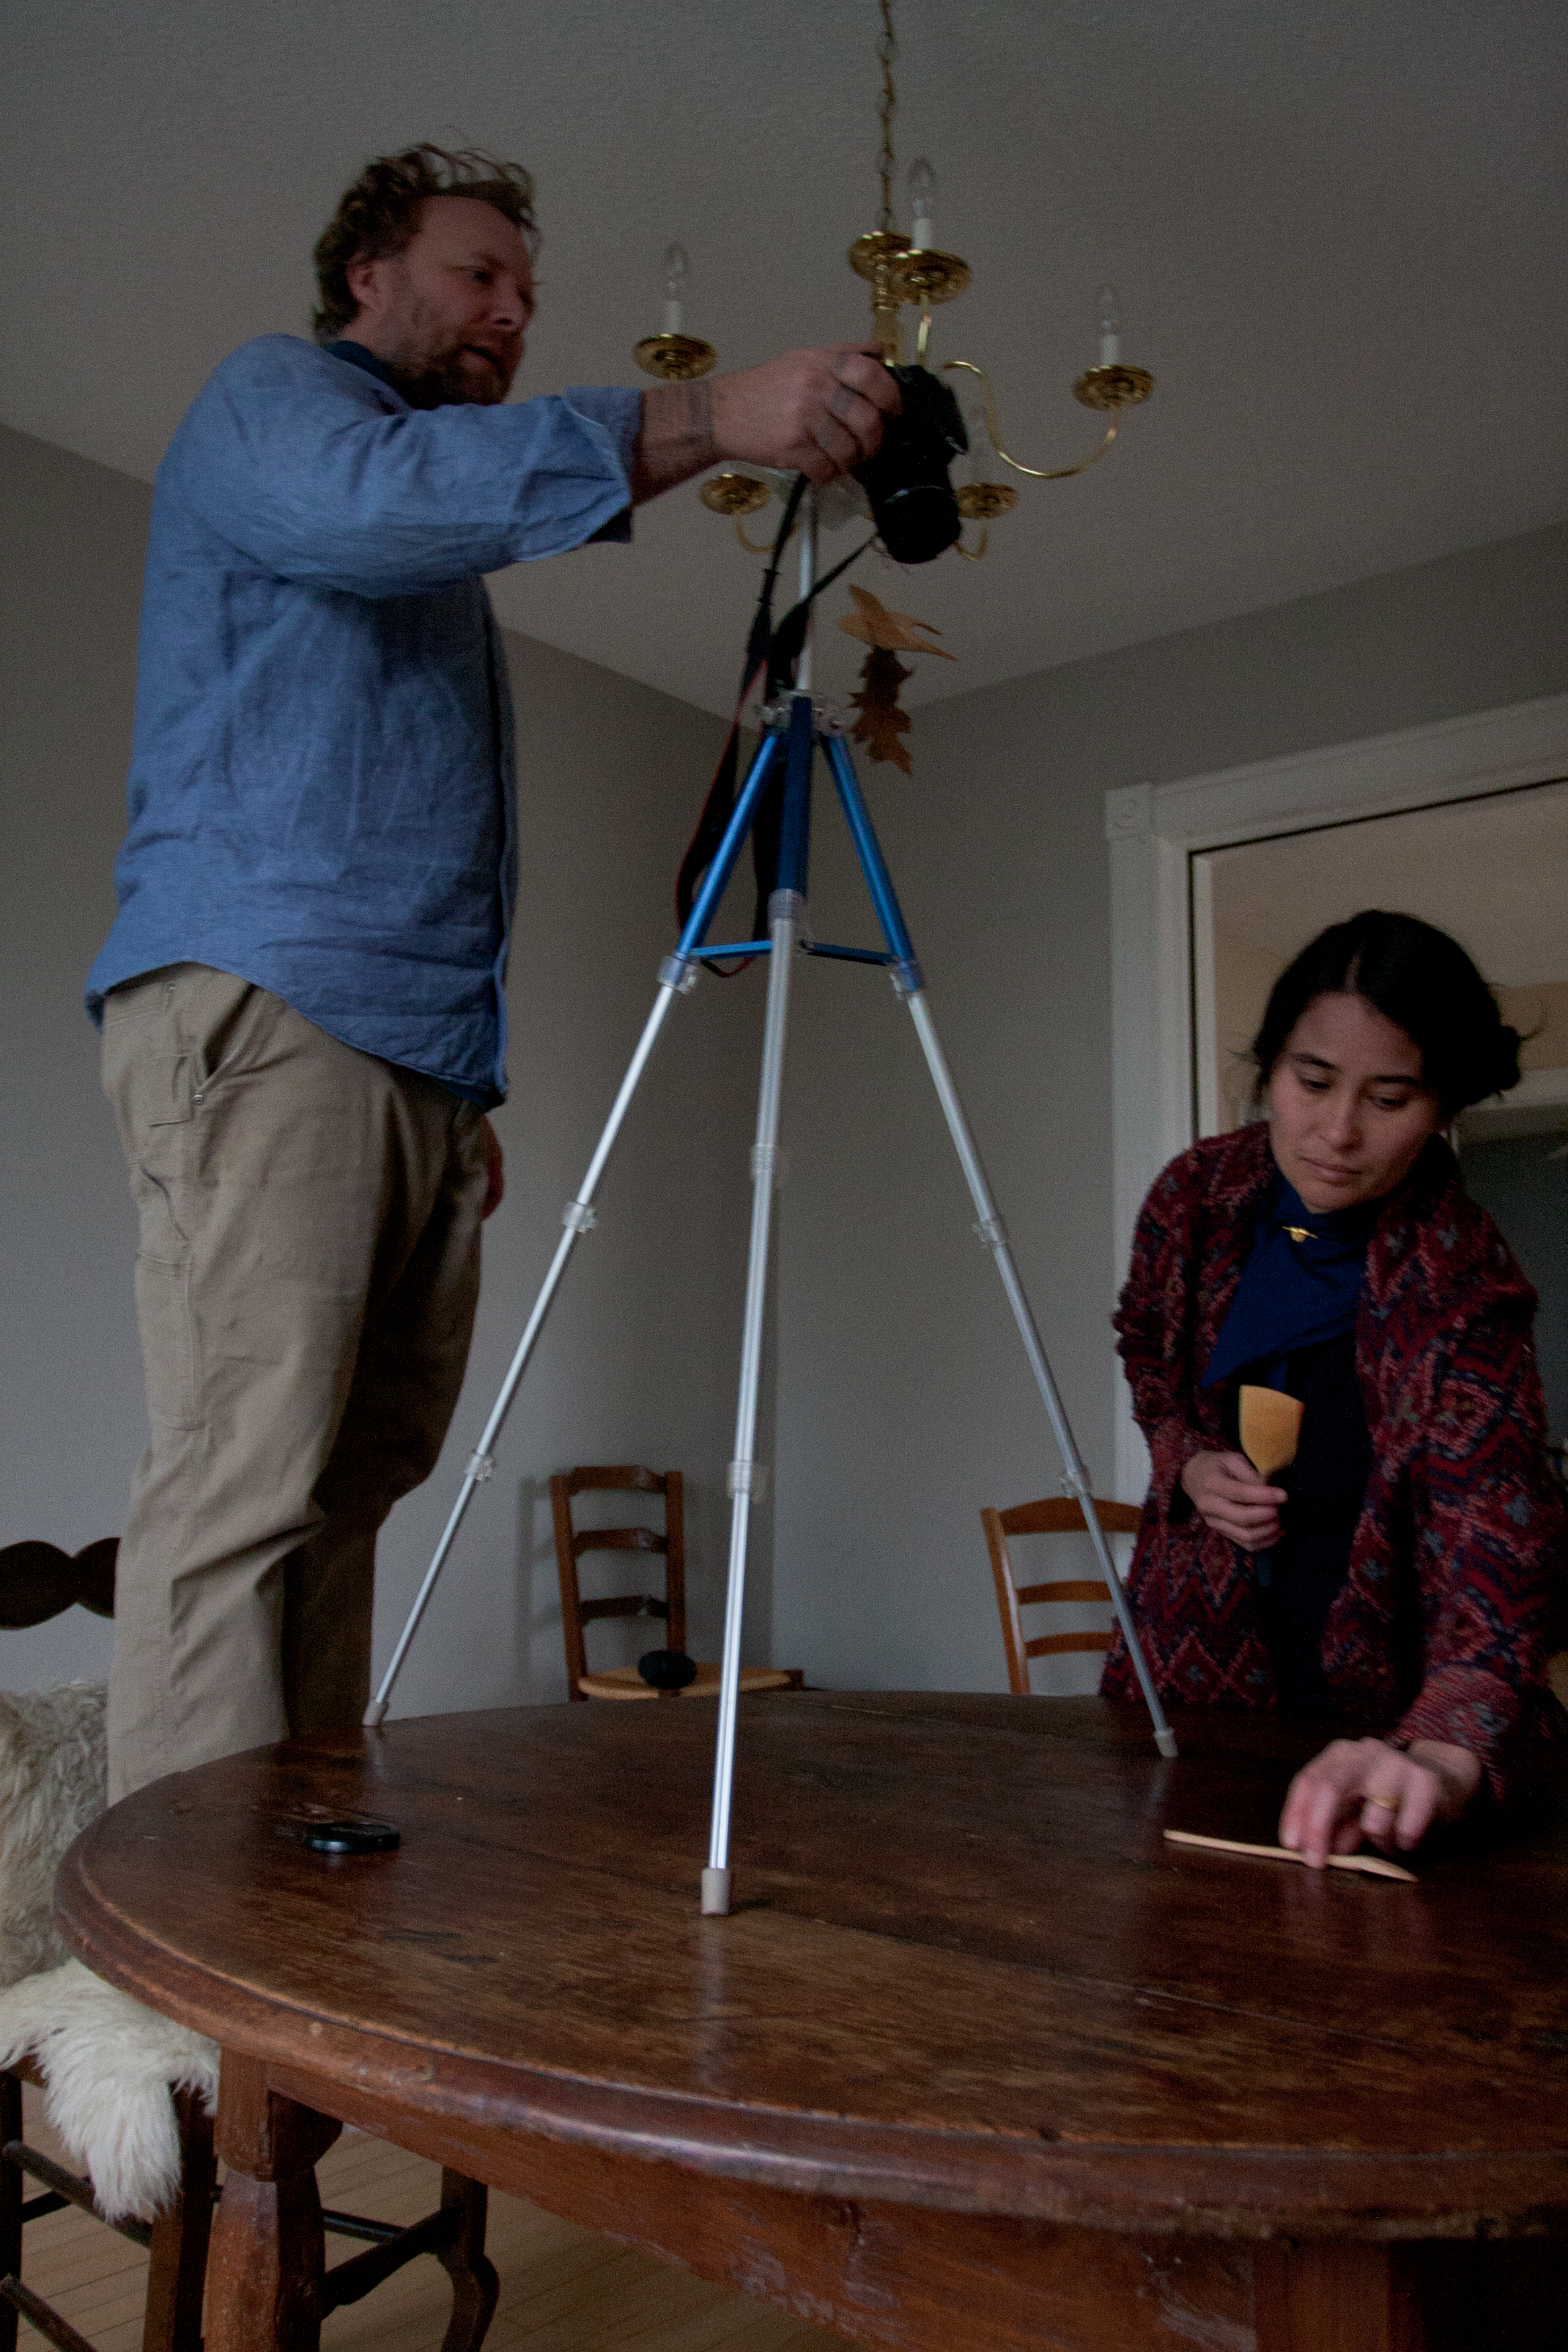

Some of the items available on Woodspirit Handcraft at Noon CST on 05/12/17
For the rest of the afternoon it was back to bowls. The next bowl I worked on had a knot/bark inclusion, plus a funky abnormally with the heartwood that Jarrod found often leads to issues during the drying. We thought the knot might disappear as I turned it, but it there to stay. So Jarrod gave me the choice; remove the knot and make a shallower bowl or start over. I got the impression that if he was in my position he'd start over. I've found that with production carving, it's good practice to learn when to cut your losses with an item. Yes you lose the time working it to where it is, but further effort might result in a product that will fail anyway. It's a bit of a gamble.
So bowl v2.5 was born. Once I had the mandrel inserted and it all mounted on my lathe, Jarrod had me consider the size of the mandrel I'd used. The bowl blank was on the large side. He judged the mandrel to be on the small end of just big enough, but encouraged me to think about how turning it feels. The ratio between bowl and mandrel size is a way to get the 'gearing' right. Too small a mandrel on a large item you can't get the torque needed. Too big and it'll spin too slowly.
Later on into the bowl, Jarrod noticed that the mandrel had kinked. It was no longer at 90' to the bowl face. We had a chat about what might have possibly caused it. The list included:
- I drilled the mortise at an angle
- I didn't set the mandrel into the bowl properly
- A jarring tool dig-in
- A successful cut, but with too much pressure
- Poltergeist
- The drive strap running too close to the mandrel while applying forceful cut
- A combination of the above
- All of the above
In my mind it's likely it was a mix of things, each exacerbating the issue. Jarrod used it as an opportunity to remind me to try and be mindful of all the different variables of bowl turning. It's going to take a while. I'll need to do it enough that some things don't need the conscious effort they currently require. By then I'll also have a better idea of what feels right. At the moment, I'm still new enough that there are issues that I don't notice until they become fully fledged problems. Which is another reason why it's great to be able to practice alongside Jarrod, as he notices these things before they're unfixable.