Birth of a Birch Spoon
““a tree of incomparable grace and loveliness, identifiable at a glance””
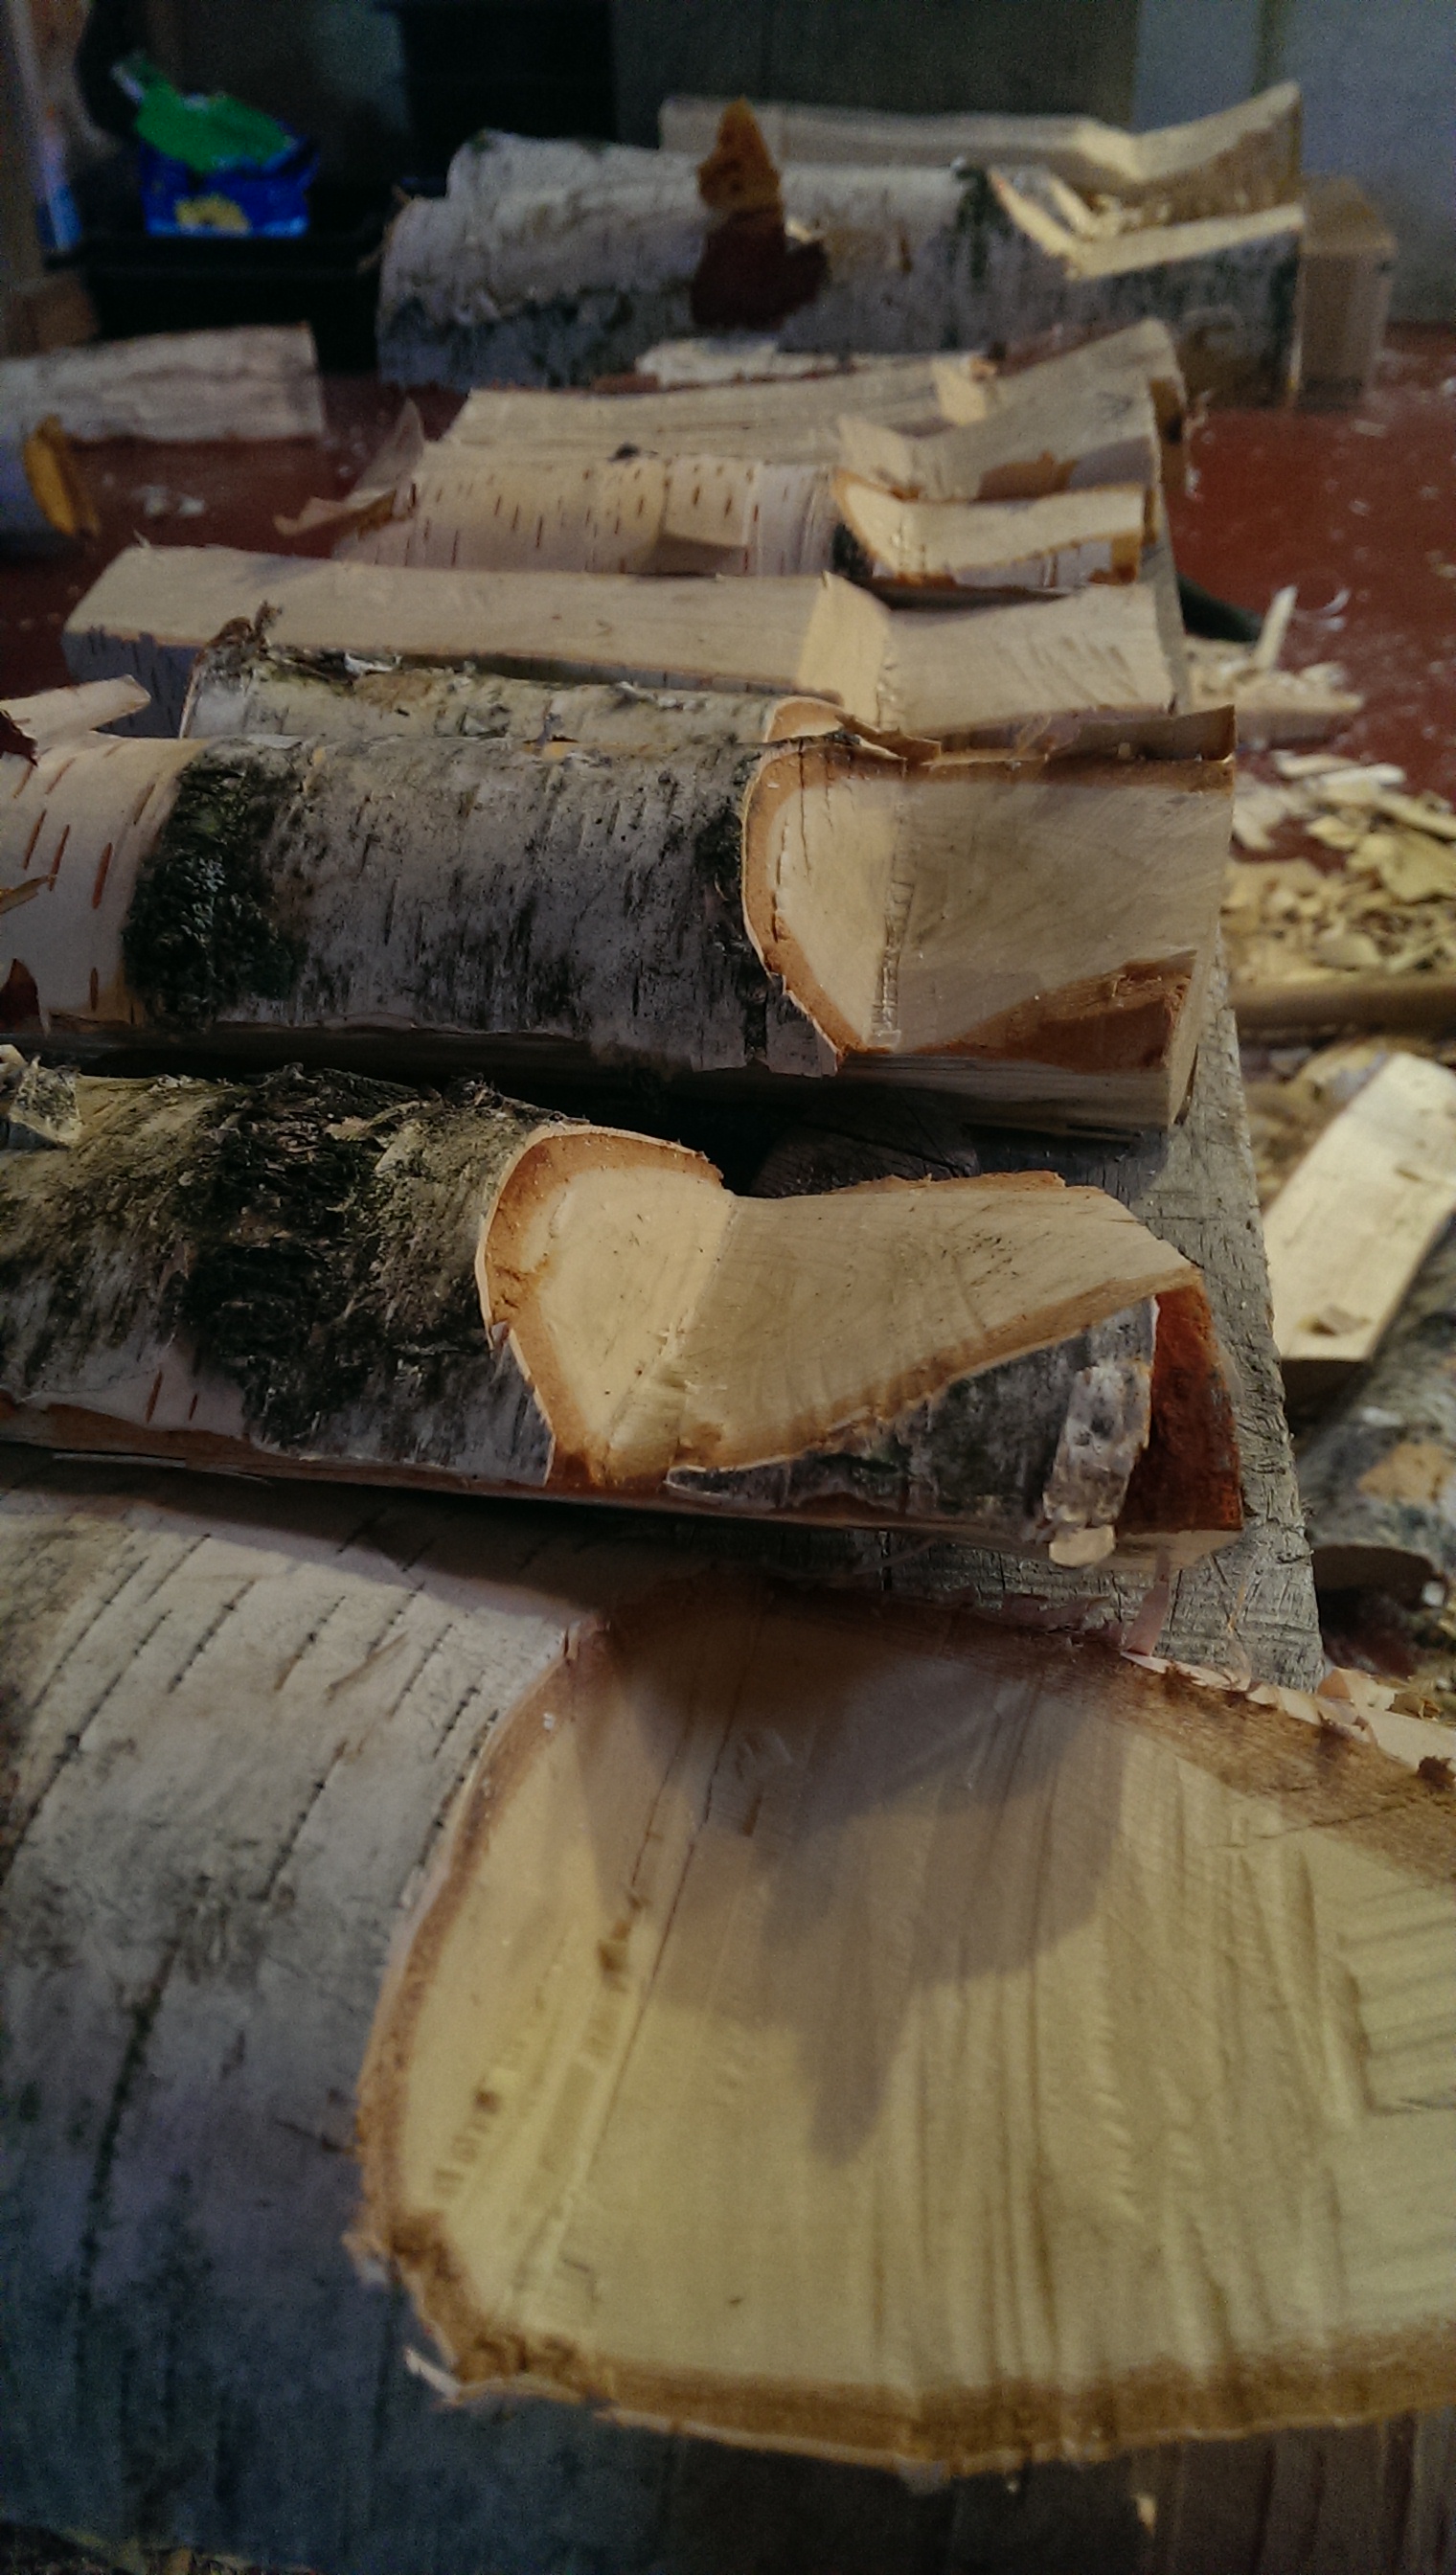
I've been working on some freshly felled birch this week. Birch is perhaps my favourite wood to carve. While green, the wood is easy to cut, but close grained enough that when dry it gives a fantastically smooth finish.
Here are the steps I went through carving a birch spoon from a half section of a birch limb.
Most of the time I carve spoons in batches, repeating the same cuts on each piece of wood before moving onto different cuts. I find this to be a more efficient way of carving, allowing me to get into a groove, finding flow in the action of performing the same cuts again and again. The spoon below was carved in one go, from start to finish. Including the time taken to document and share the process, it took me about 50 minutes from log to spoon.
The top and bottom of a birch spoon axed out. pic.twitter.com/MSKyPC9iD0
— Sylva Spoon (@sylvaspoon) January 28, 2016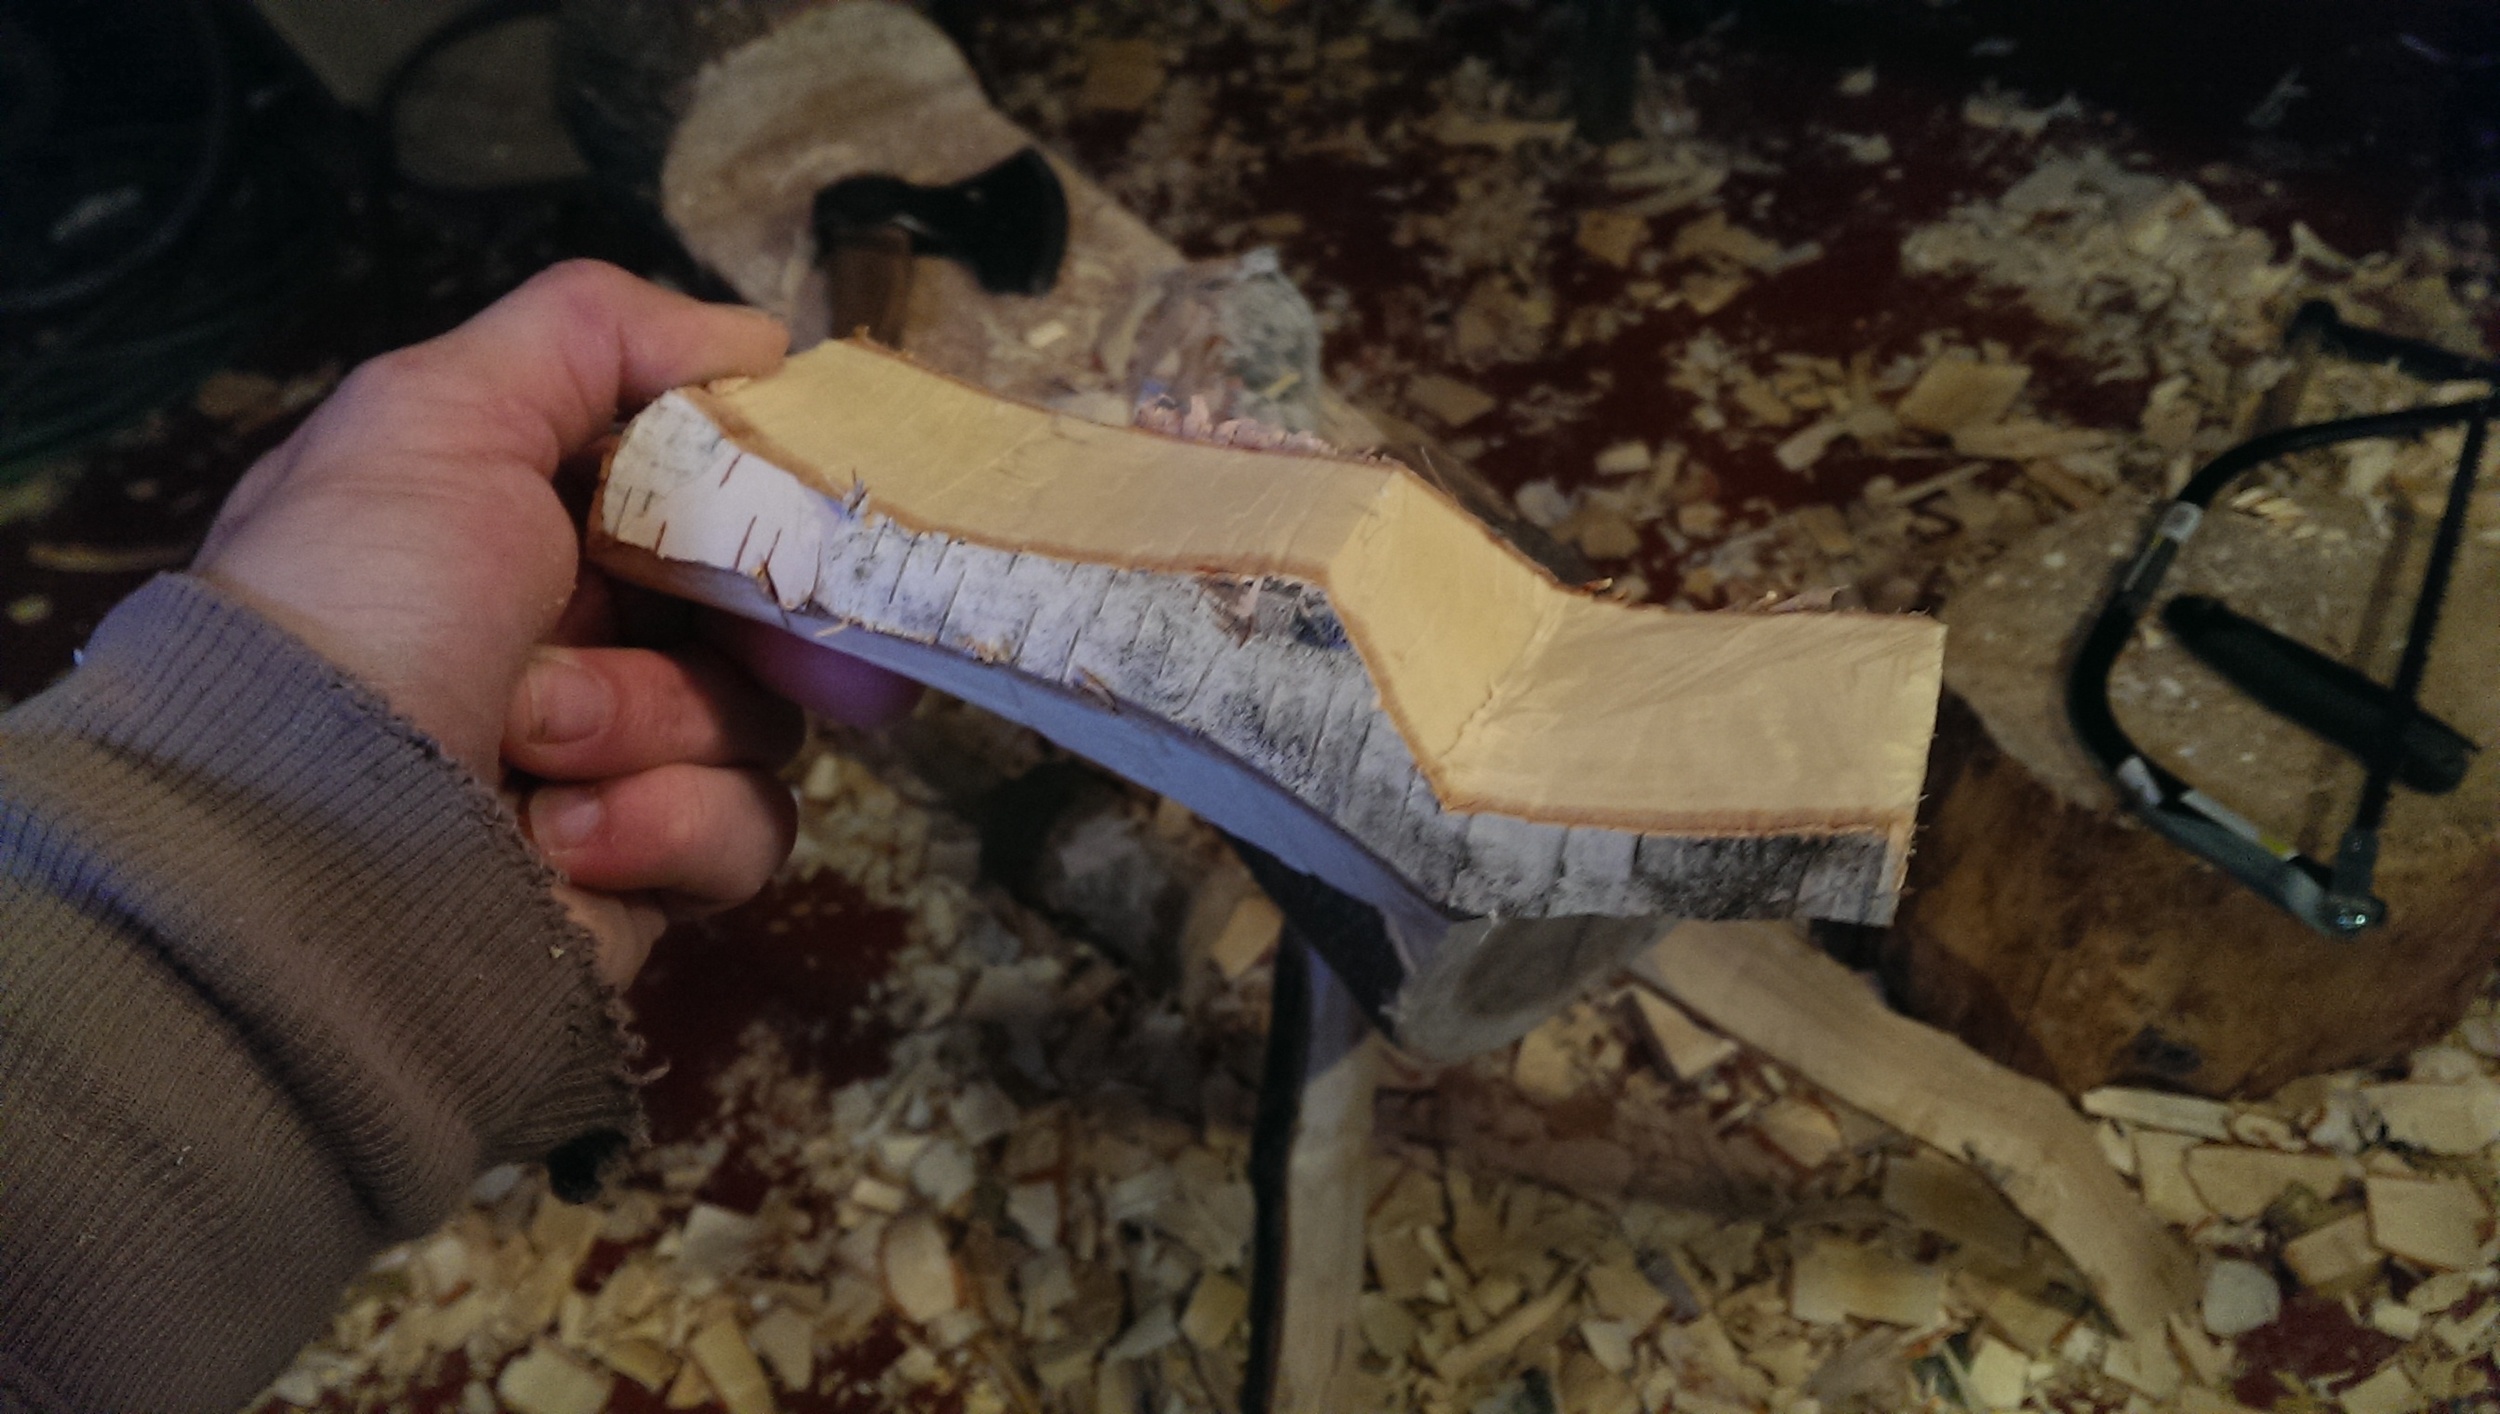
I first axe out the top of the log to ensure the bowl and the handle are not on the same plane. This crank makes it easier to scoop food out of a bowl. Using the top planes as a guide I remove material from the bottom of the log as well.
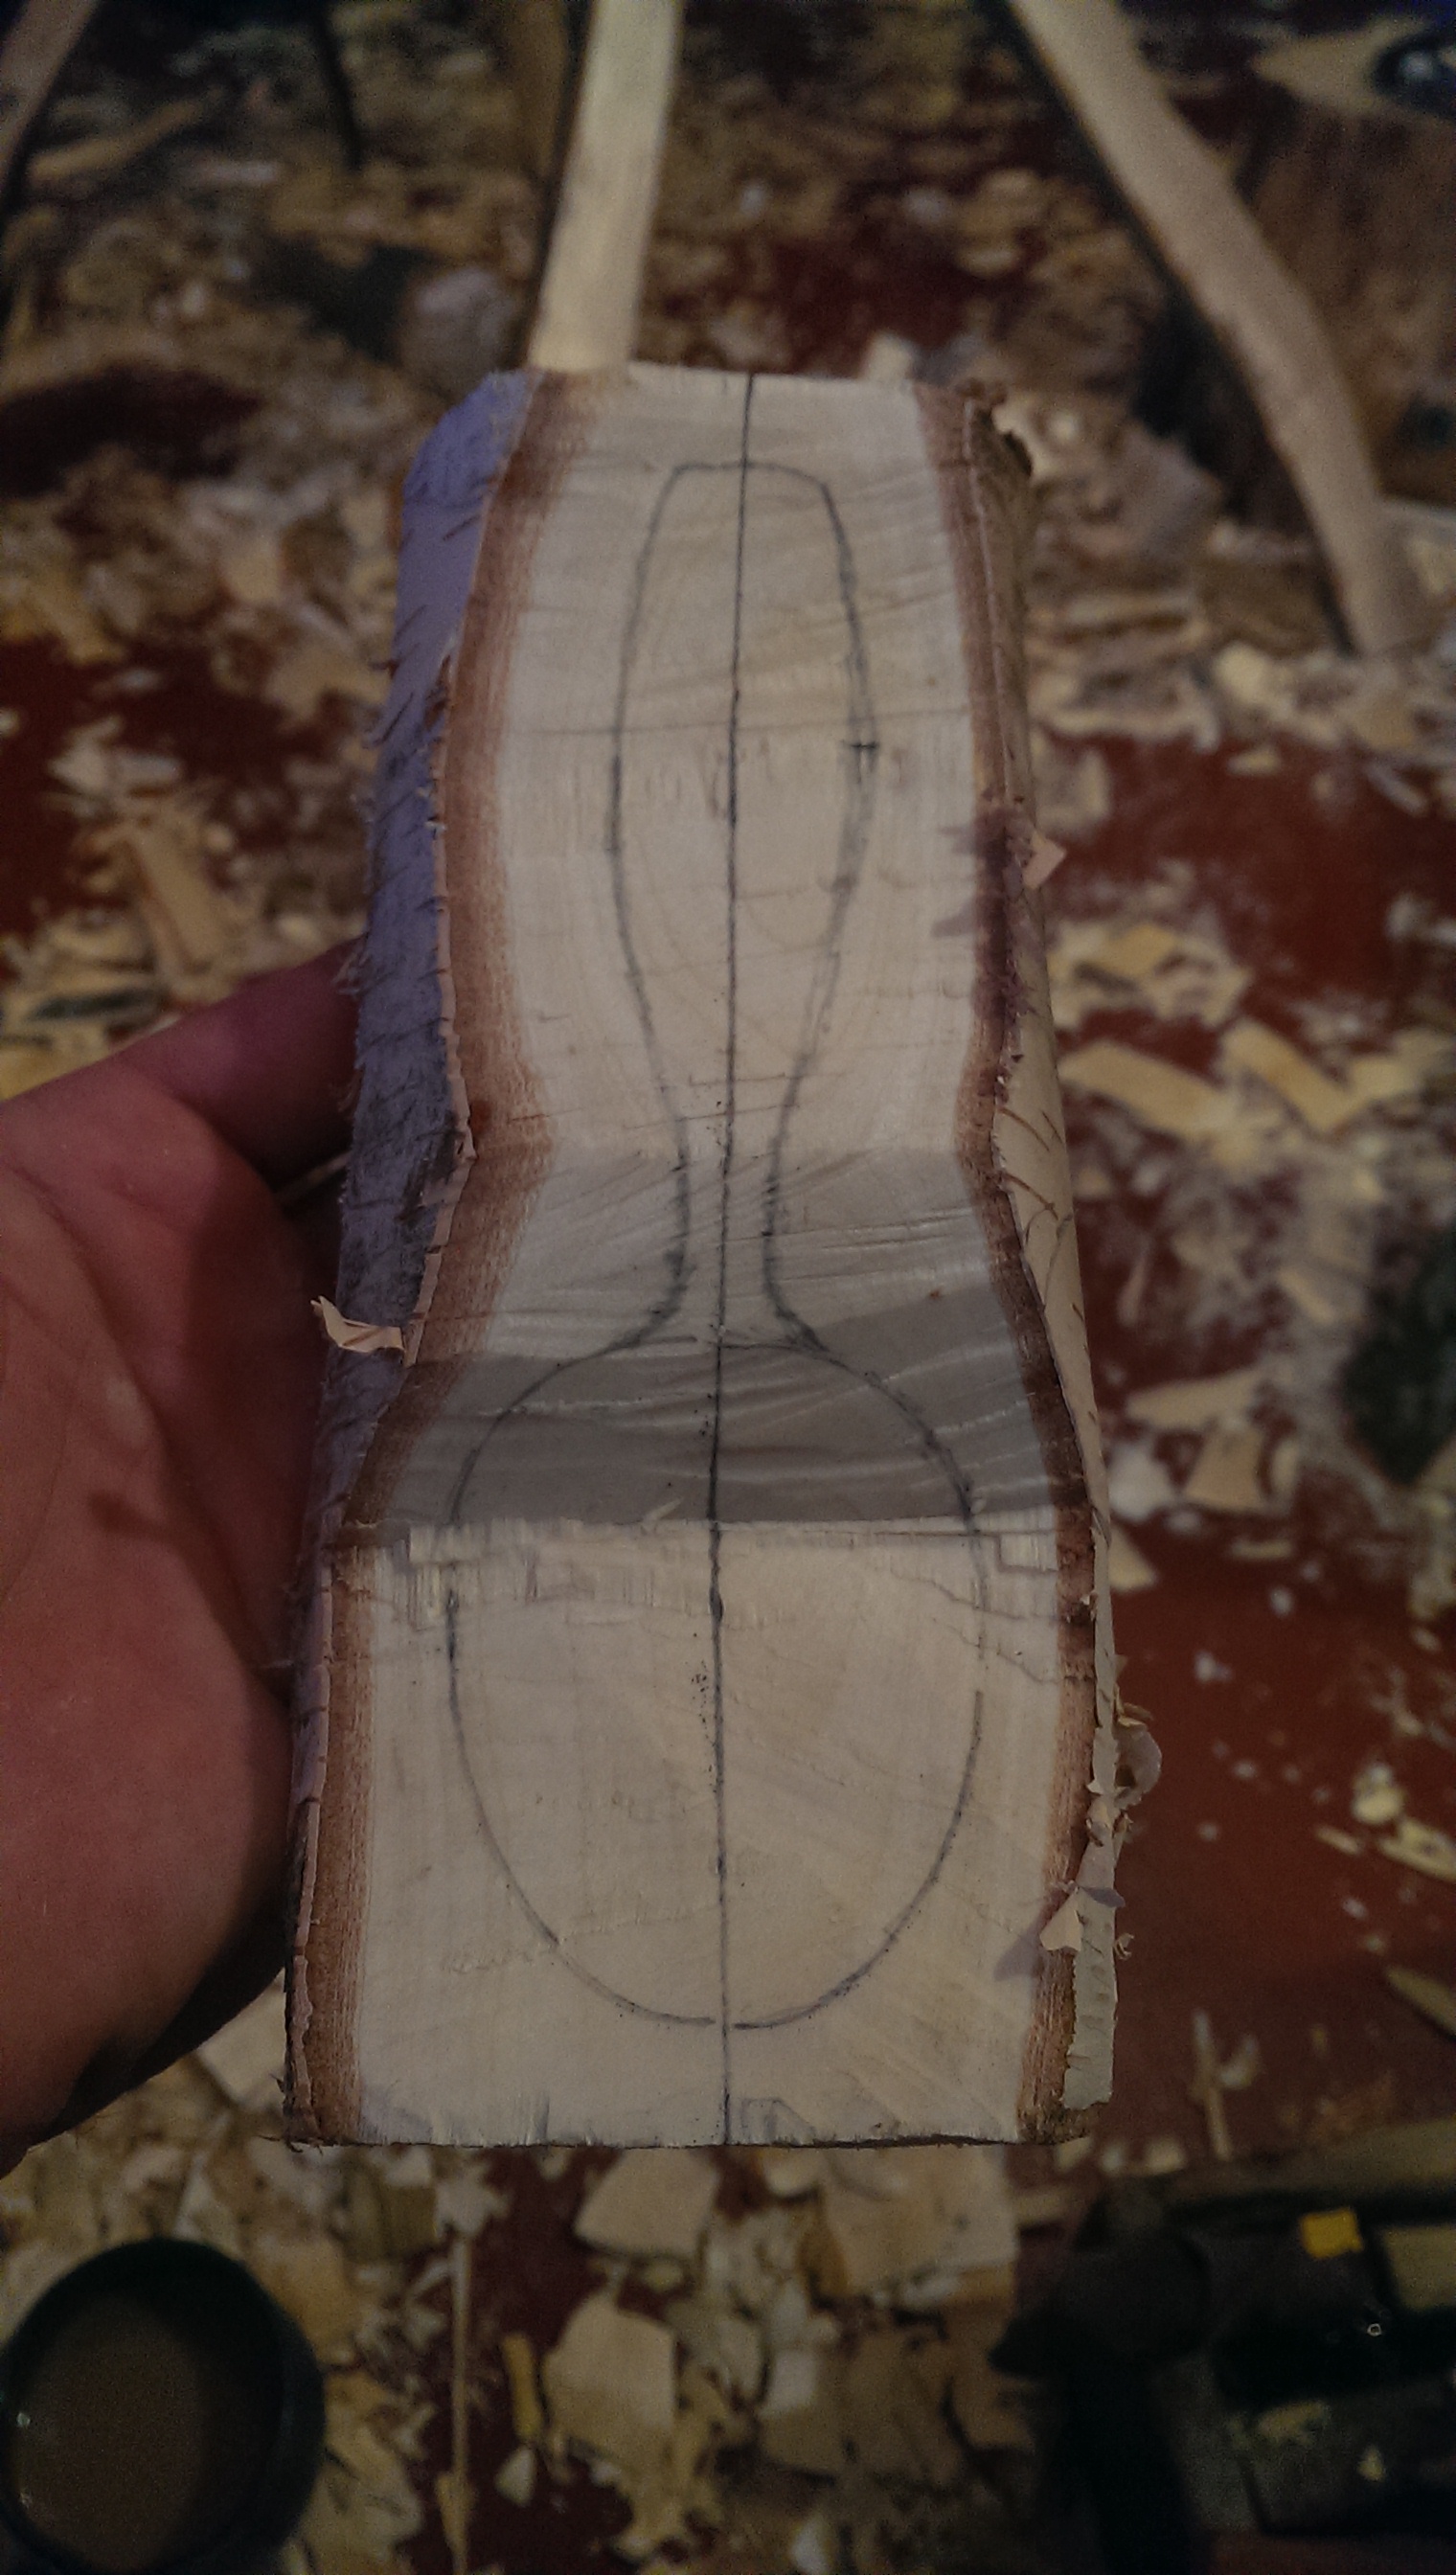
I draw a centreline using a bendy ruler to help ensure the design is symmetrical. Sometimes I work to a predetermined design but on this occasion I let the wood do the talking and looked to the pattern of the grain to help determine the shape of the spoon.
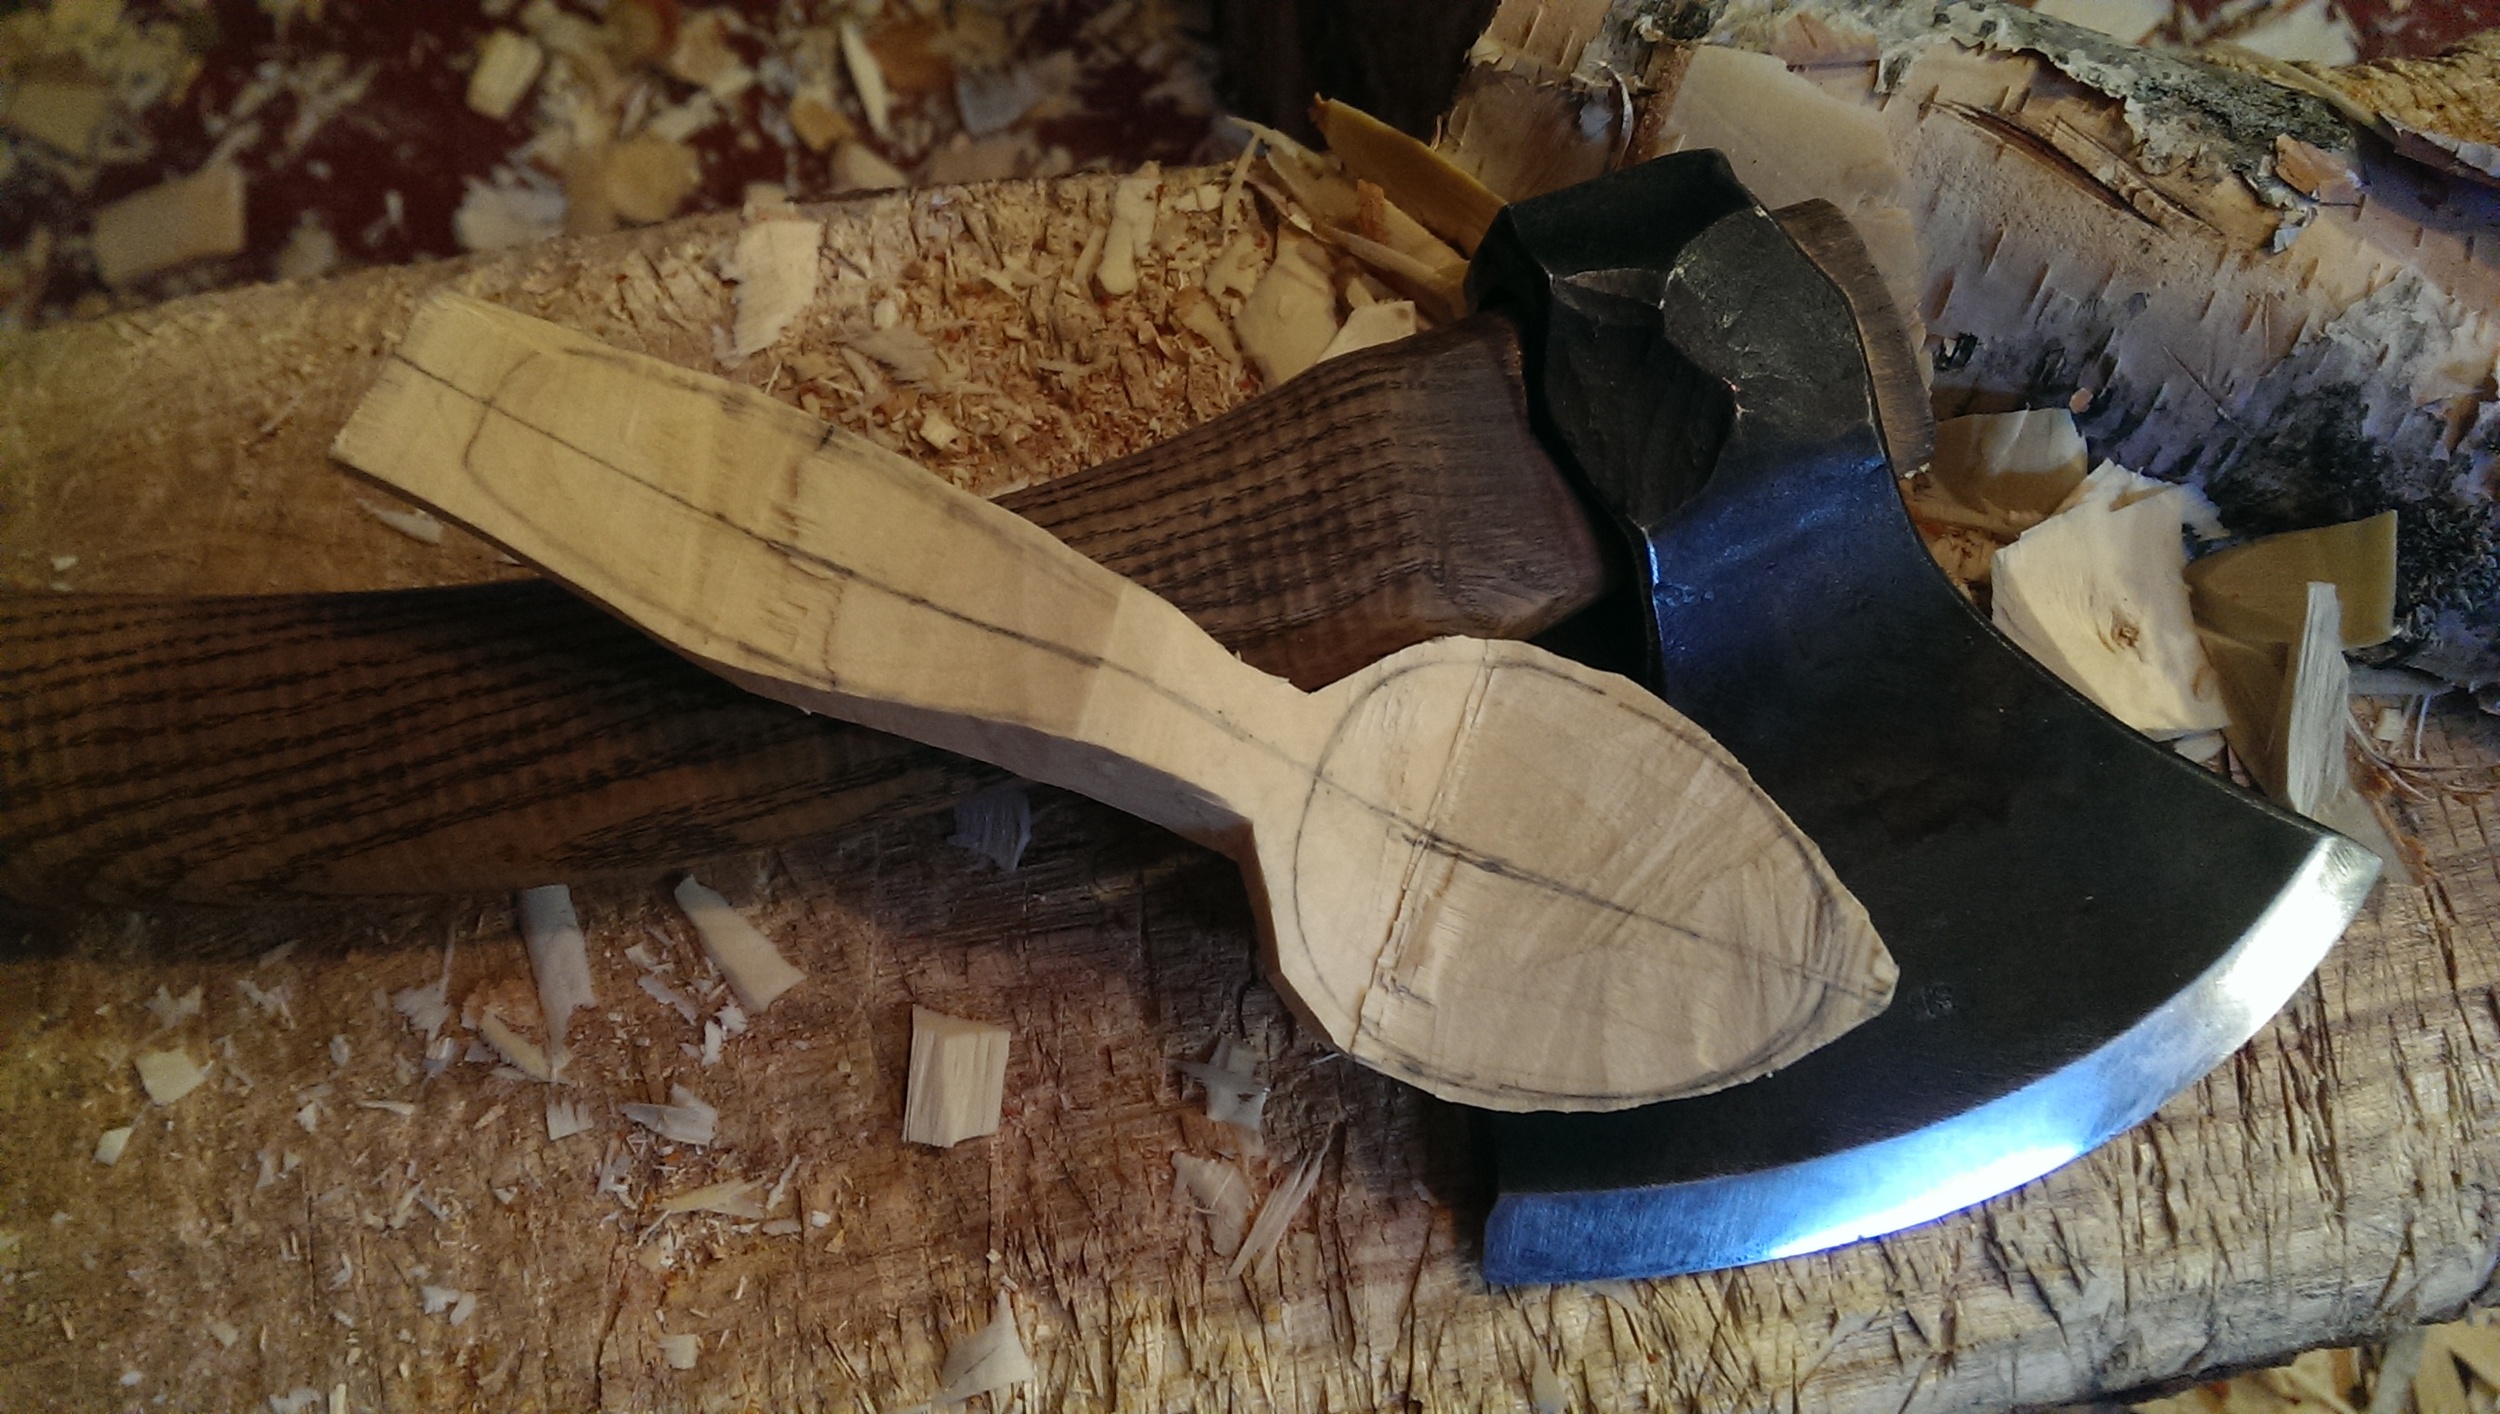
Carving close to the lines, I remove the material from the sides of the spoon. I also shape the bottom of the spoon bowl and part of the handle at this stage. It's a lot quicker to use the axe to remove material so it's worth trying to get the spoon as close to the final shape as you can. A sharp axe can do surprisingly delicate work.
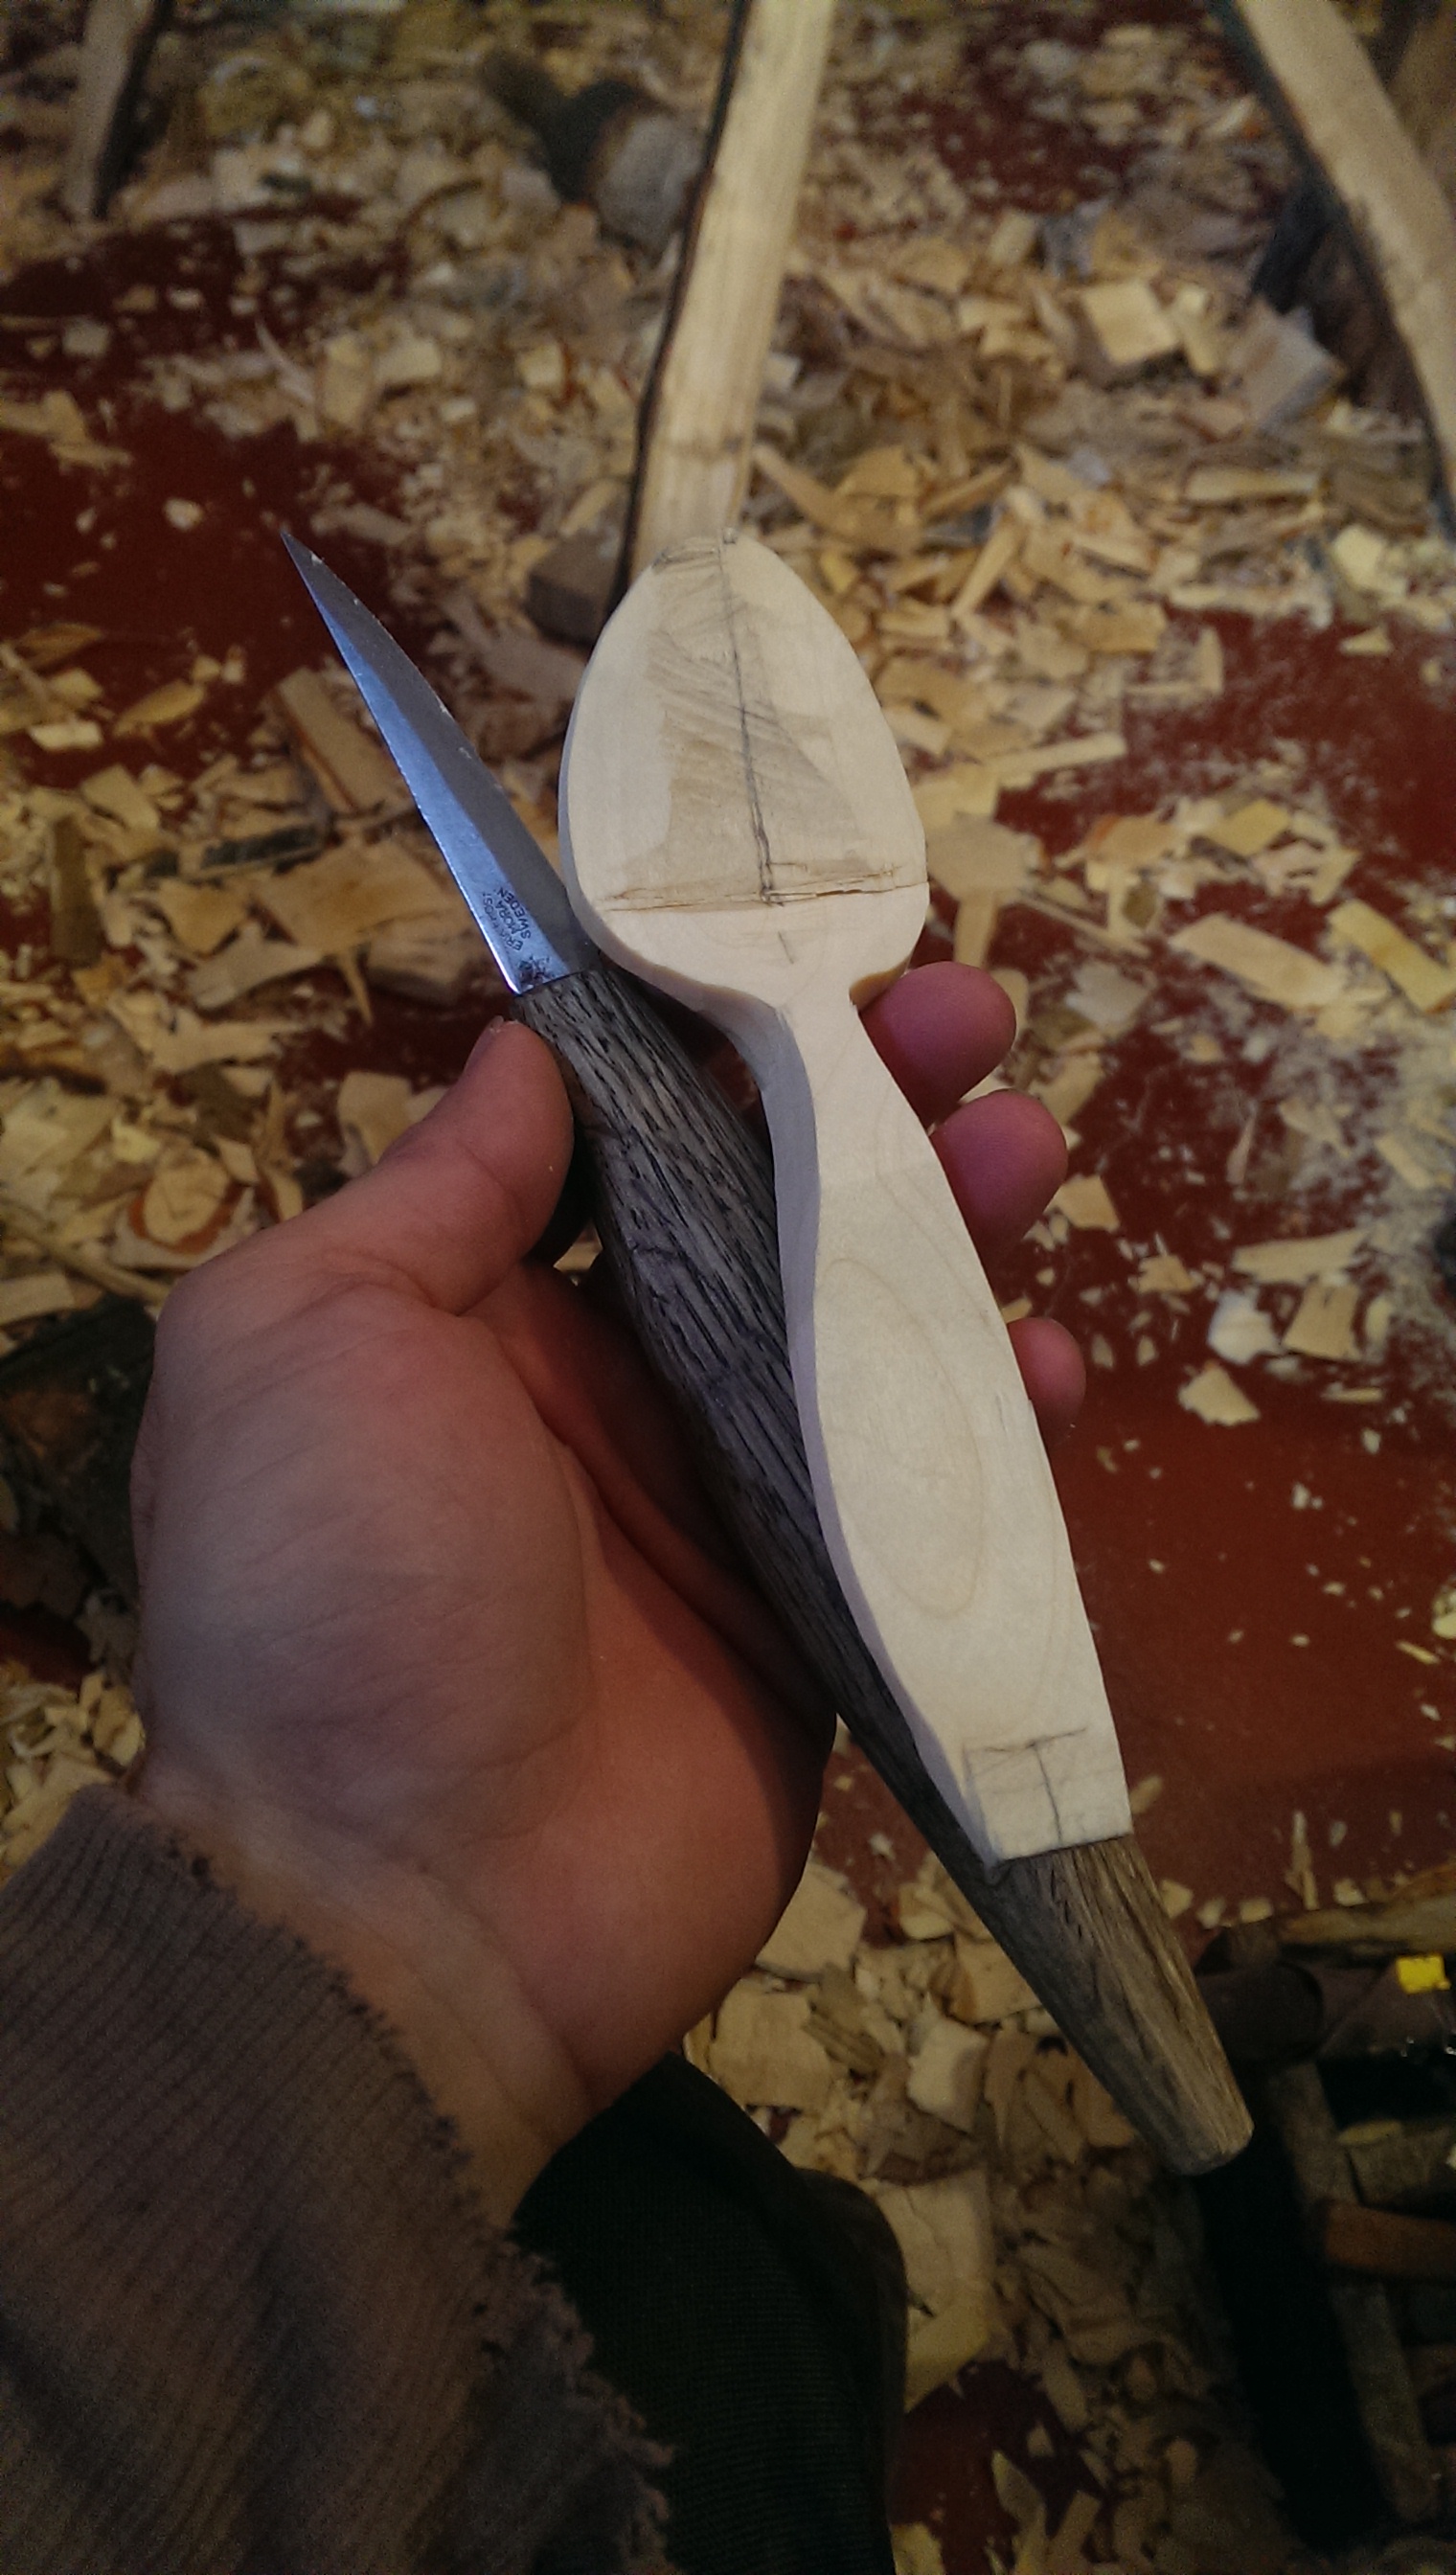
At some point you need to finer control offered by a knife. Most of the knife work should be to just smooth out the axe marks. During this stage, most of my time is spent shaping the bottom of the bowl. As the wood is still green I don't need to get it down to it's final shape as I want to let it dry before doing the final cuts. However I want it about 95% done before leaving it to dry.
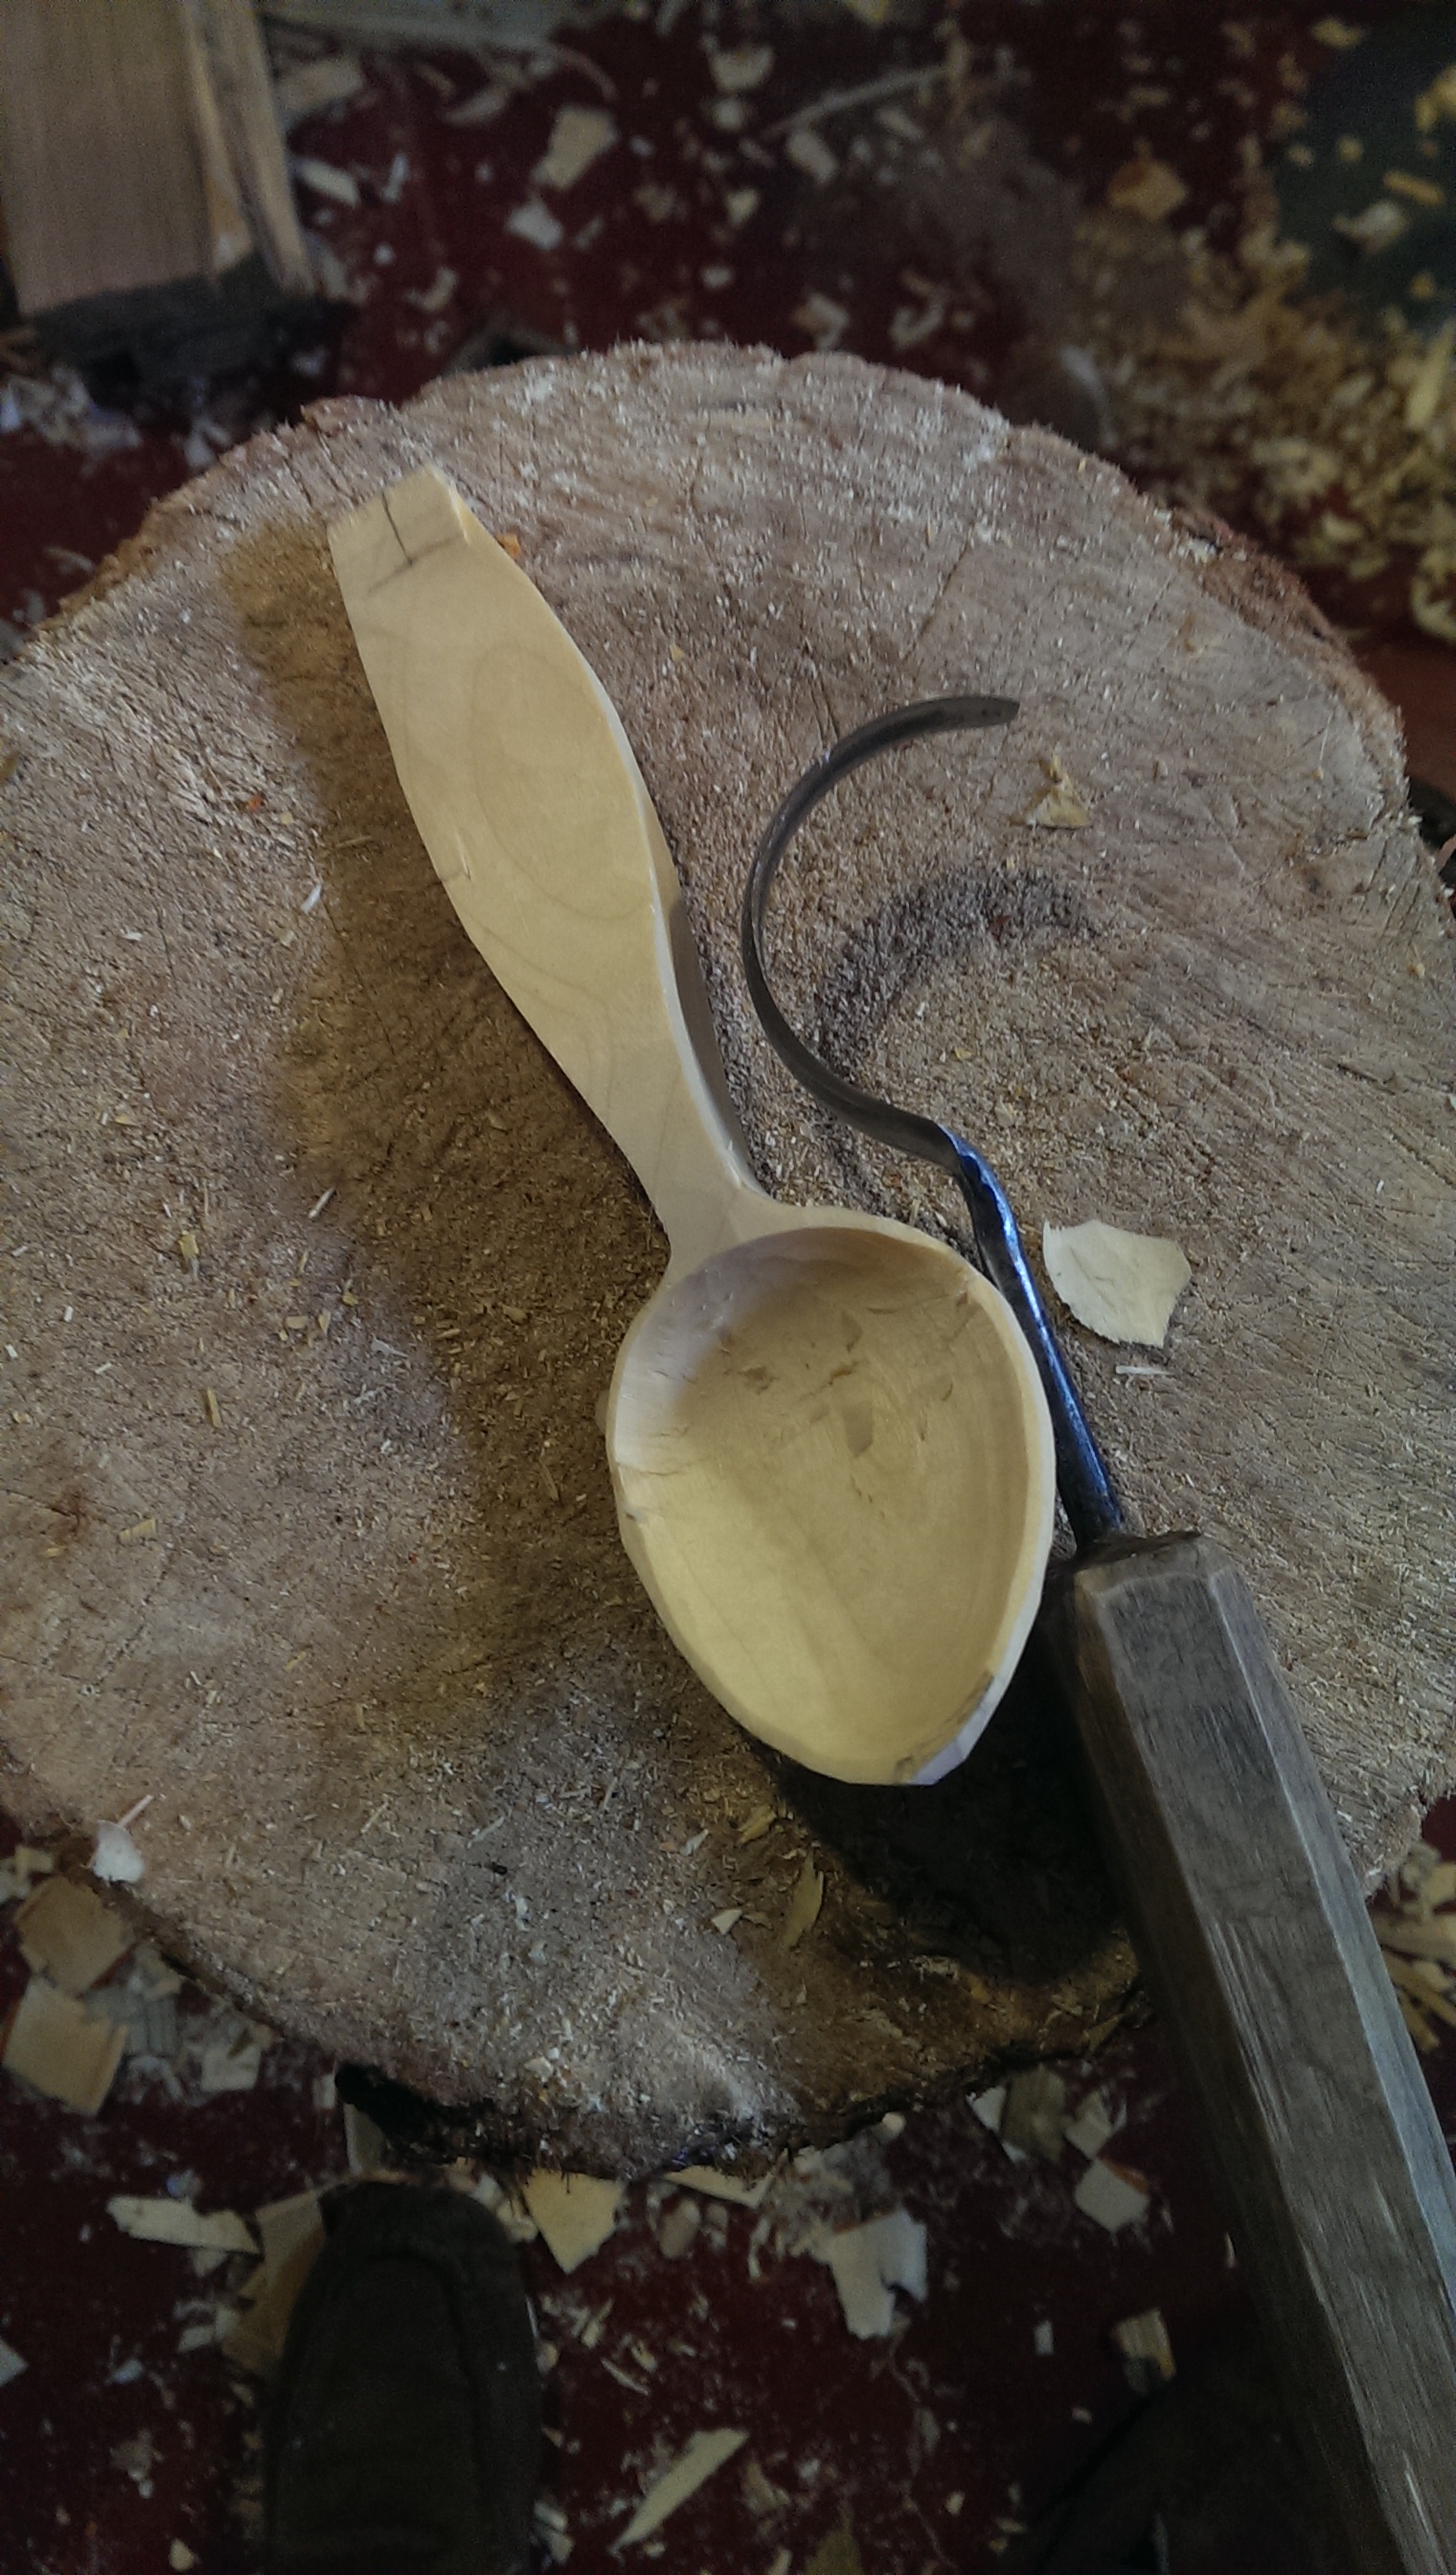
I do most of my hollowing with a 50mm twca cam. It's a fantastic tool for quickly removing material, as well as doing finer finishing work. For some larger spoons I take a chunk out of the bowl with an adze. It's important to not carve the bowl of an eating spoon too deep, as your top lip can't reach the bottom of the bowl if you carve it too deeply. Once I have the bowl the depth I want it, I might go back to the straight knife to remove more material from the bottom of the spoon bowl.
At this point I leave the spoon to dry. The wood fibres are a lot more flexible when wet, so they don't all get cut to the same length at this point, which leaves a slightly rougher feeling surface. While the wood dries it might twist, and if there are knots they might cause splits, or even fall out. Most of time this isn't an issue. After a few days I go back to the dry spoons and, using freshly honed tools, make some final surface cuts. Shaving off the dry surface leaves a much smoother finish.
If you enjoy the content of this site and find it to be useful, help me to be able to spend more time on similar articles by becoming a Patreon.